Papier-mâché, which means “chewed paper” in French, originated in China shortly after the invention of paper, around 100 BC. It was used to make helmets for soldiers, sculptures, furniture, decorative ceiling mouldings and more. Its history as a durable and popular design material is long yet its use diminished with the advent of modern plastics.
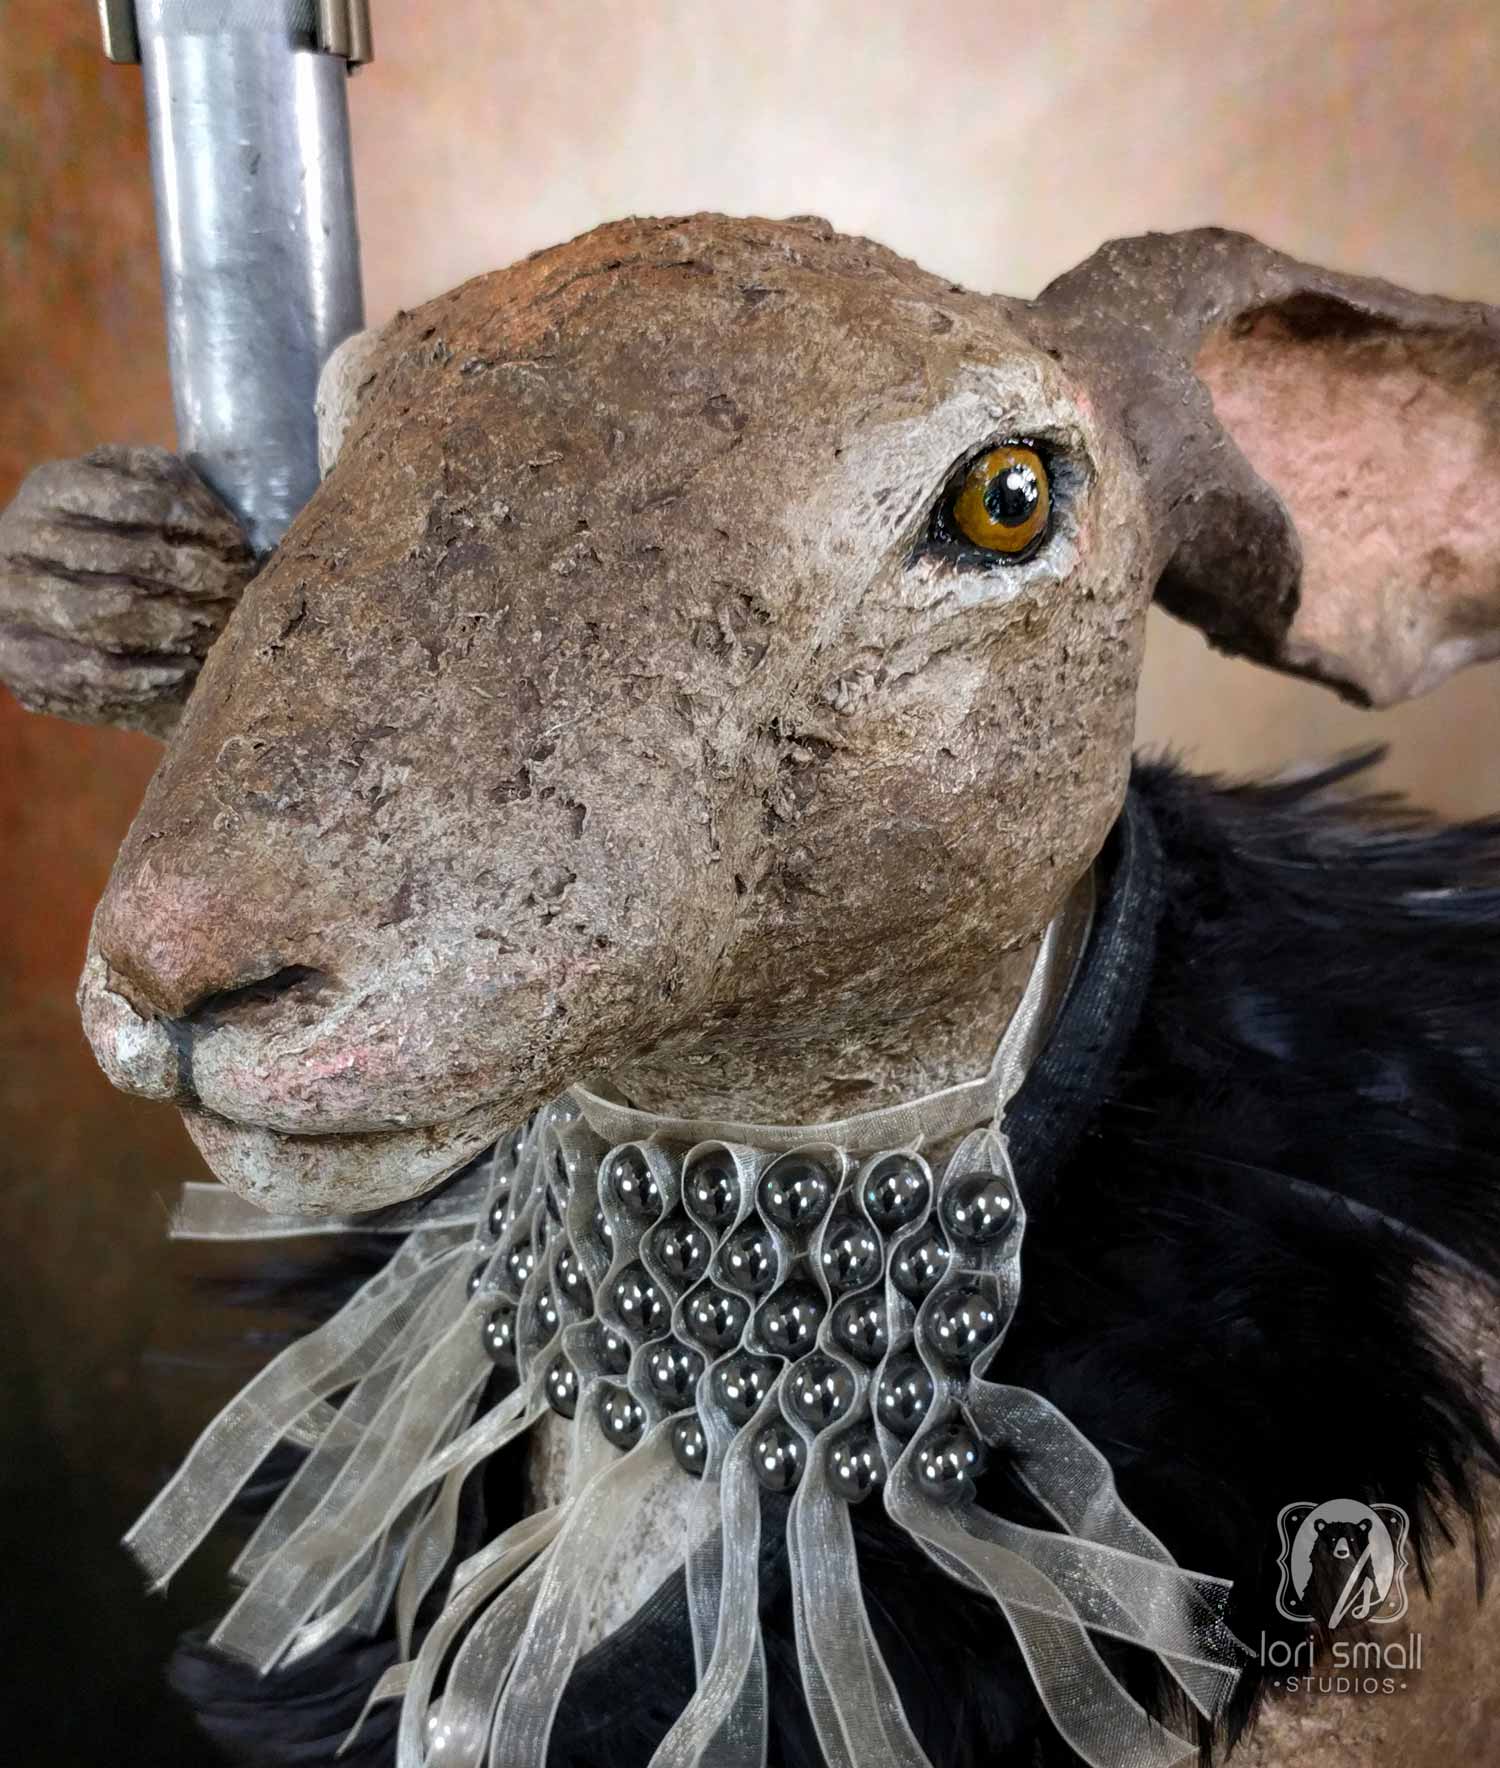
Today paper mache, as it is known in the US, is enjoying a real renaissance in home decor, sculpture and lighting. As a bonus, it often incorporates recycled paper which is helpful to the environment. Many artists, particularly those who have worked with ceramics, find paper clay less limiting in it’s design capabilities and many are turning simple paper into serious works of art. I find it a wonderful medium to sculpt in given it’s ability to hold great detail.
Every project starts with imagery….even if it’s just an image in my mind. The internet is a boundless tool for reference and inspiration. I use it before the start of every project….It’s great for referencing the size, scale and coloration of an animal, but information overload is possible if I spend too much time here. Best to keep moving….
Below are the major steps in bringing a sculpture to life. This is by no means an exhaustive list, but it will give you an idea of how a few of mine were made.
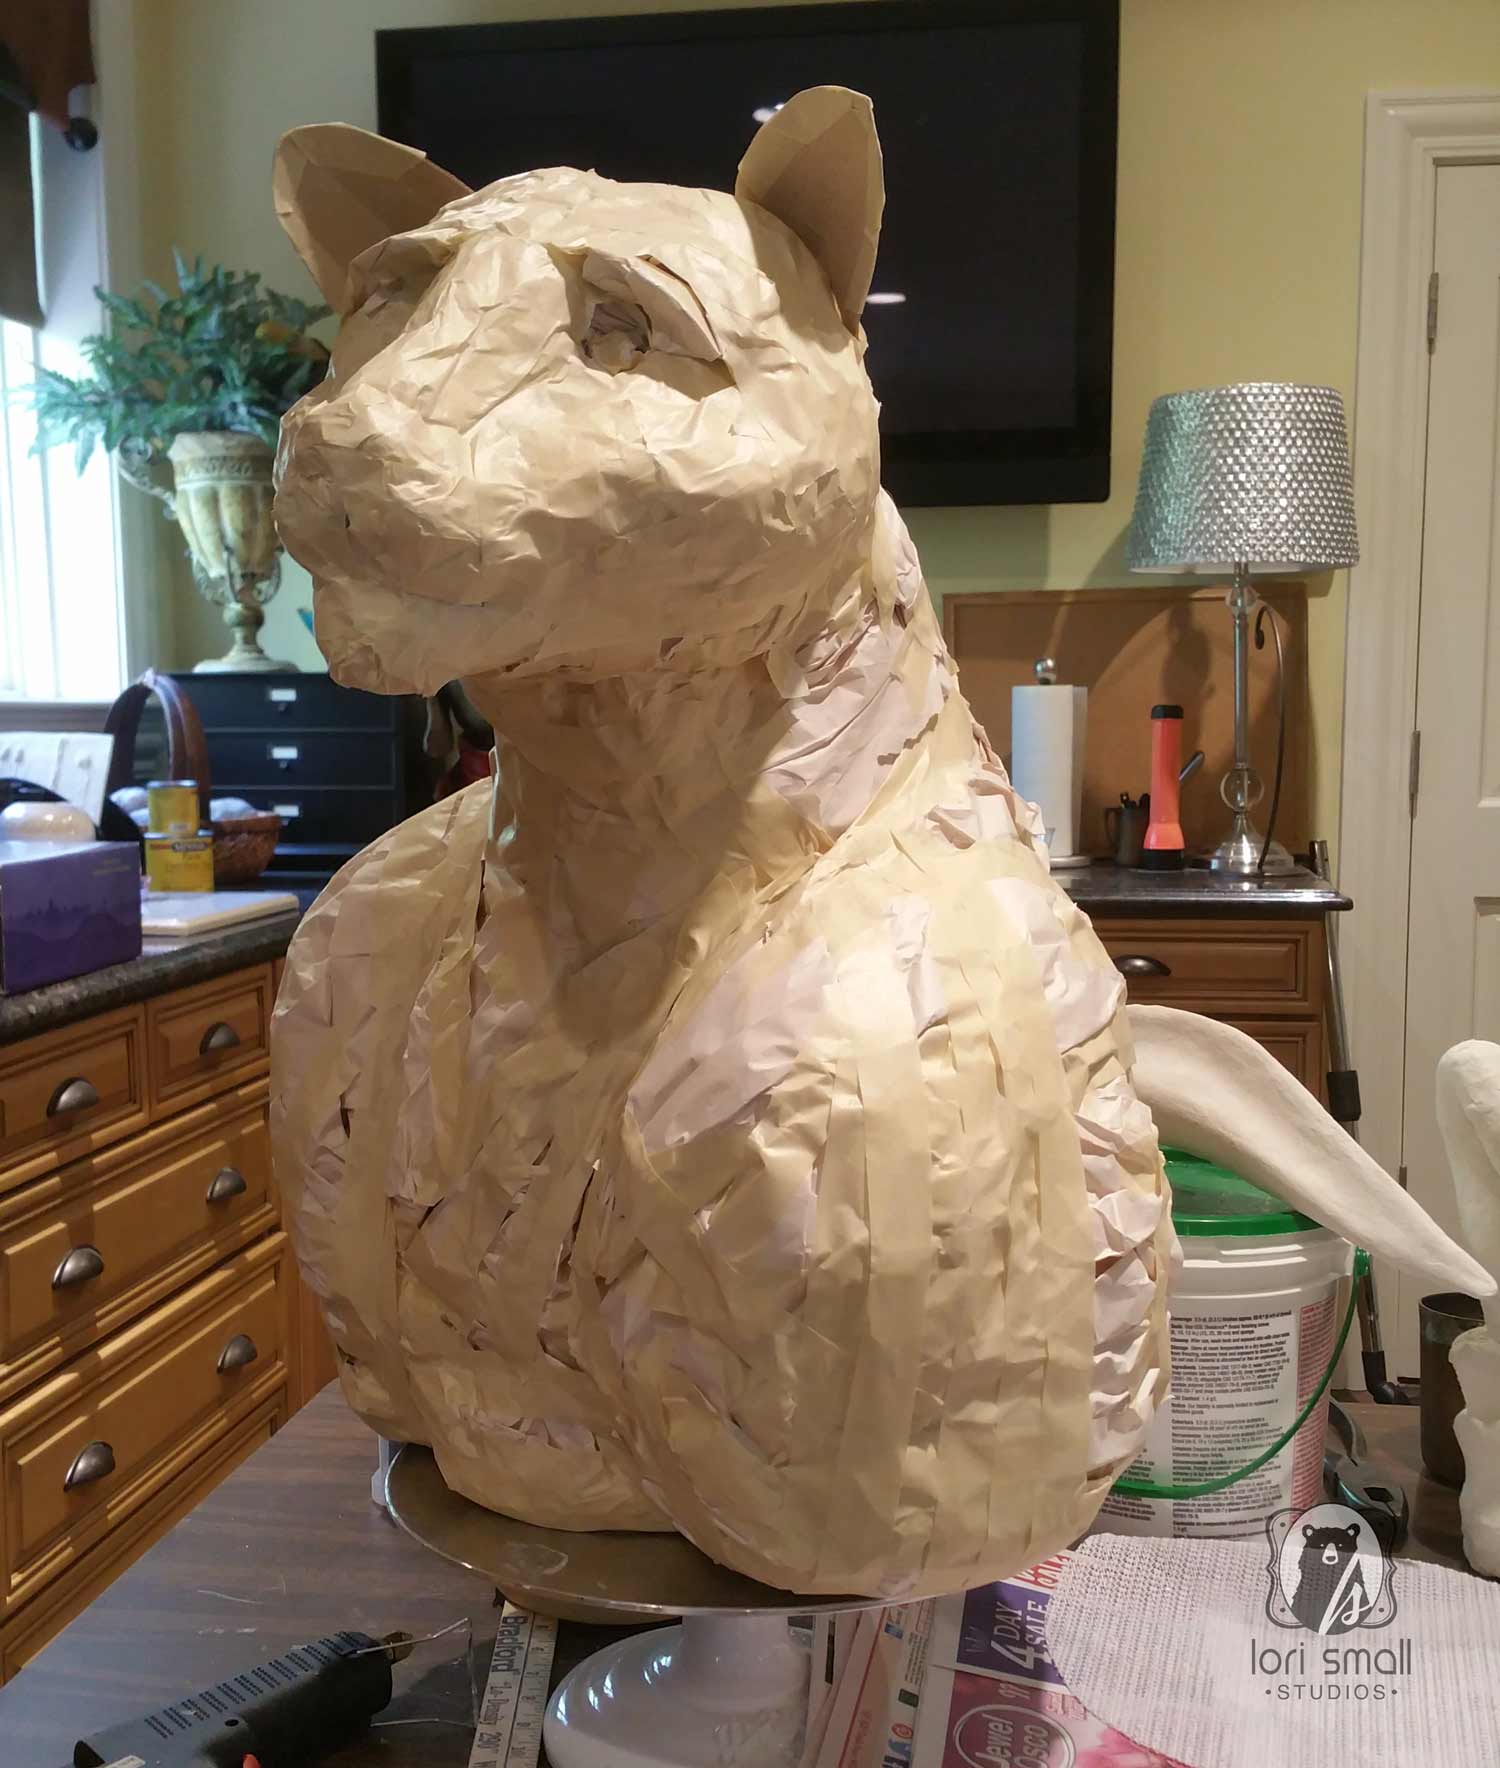
Creating the initial form
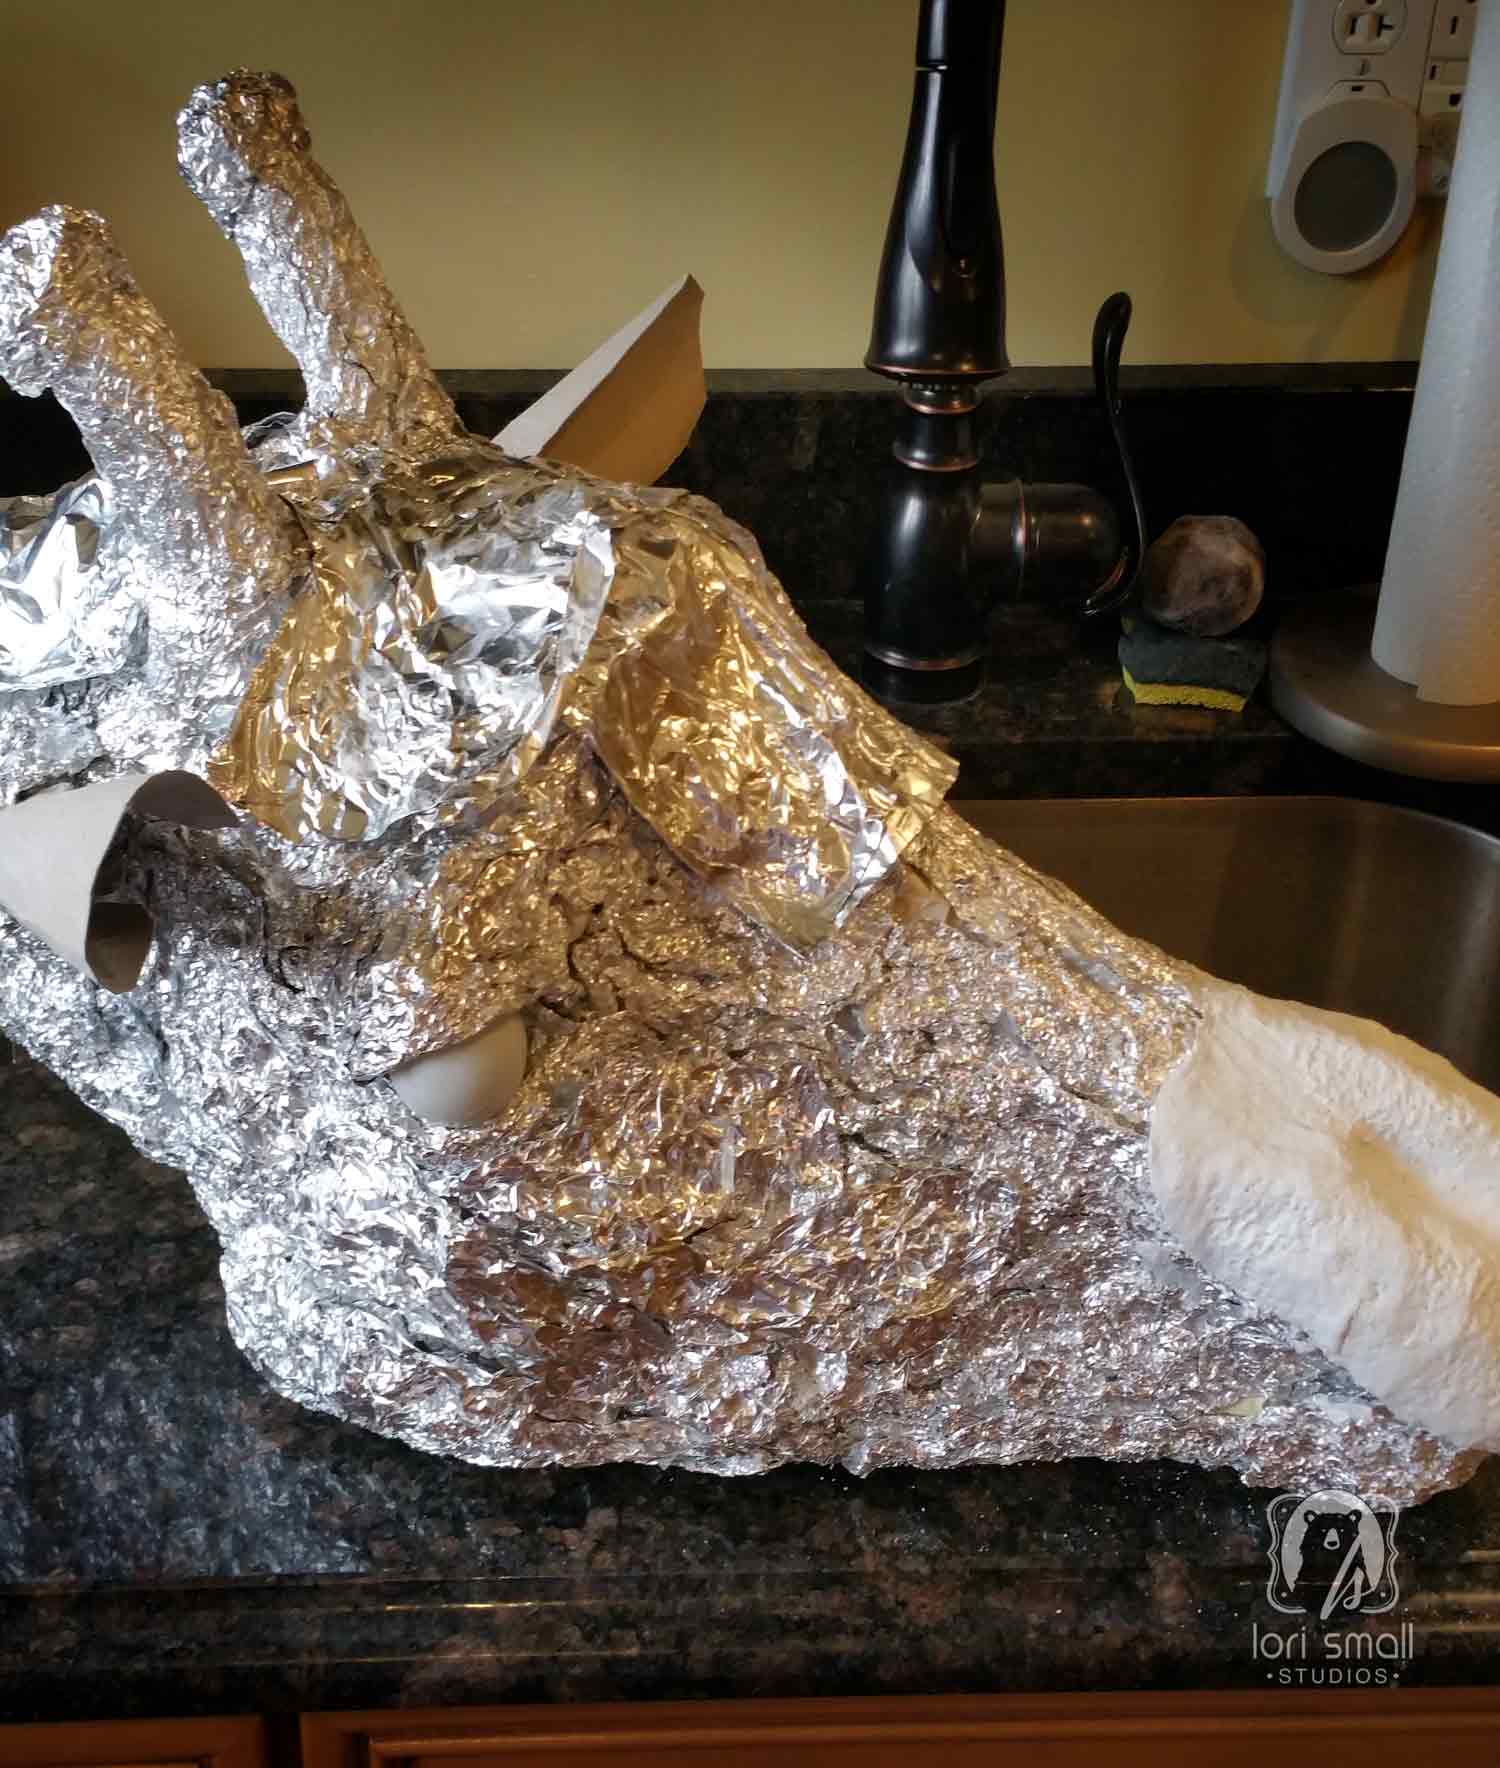
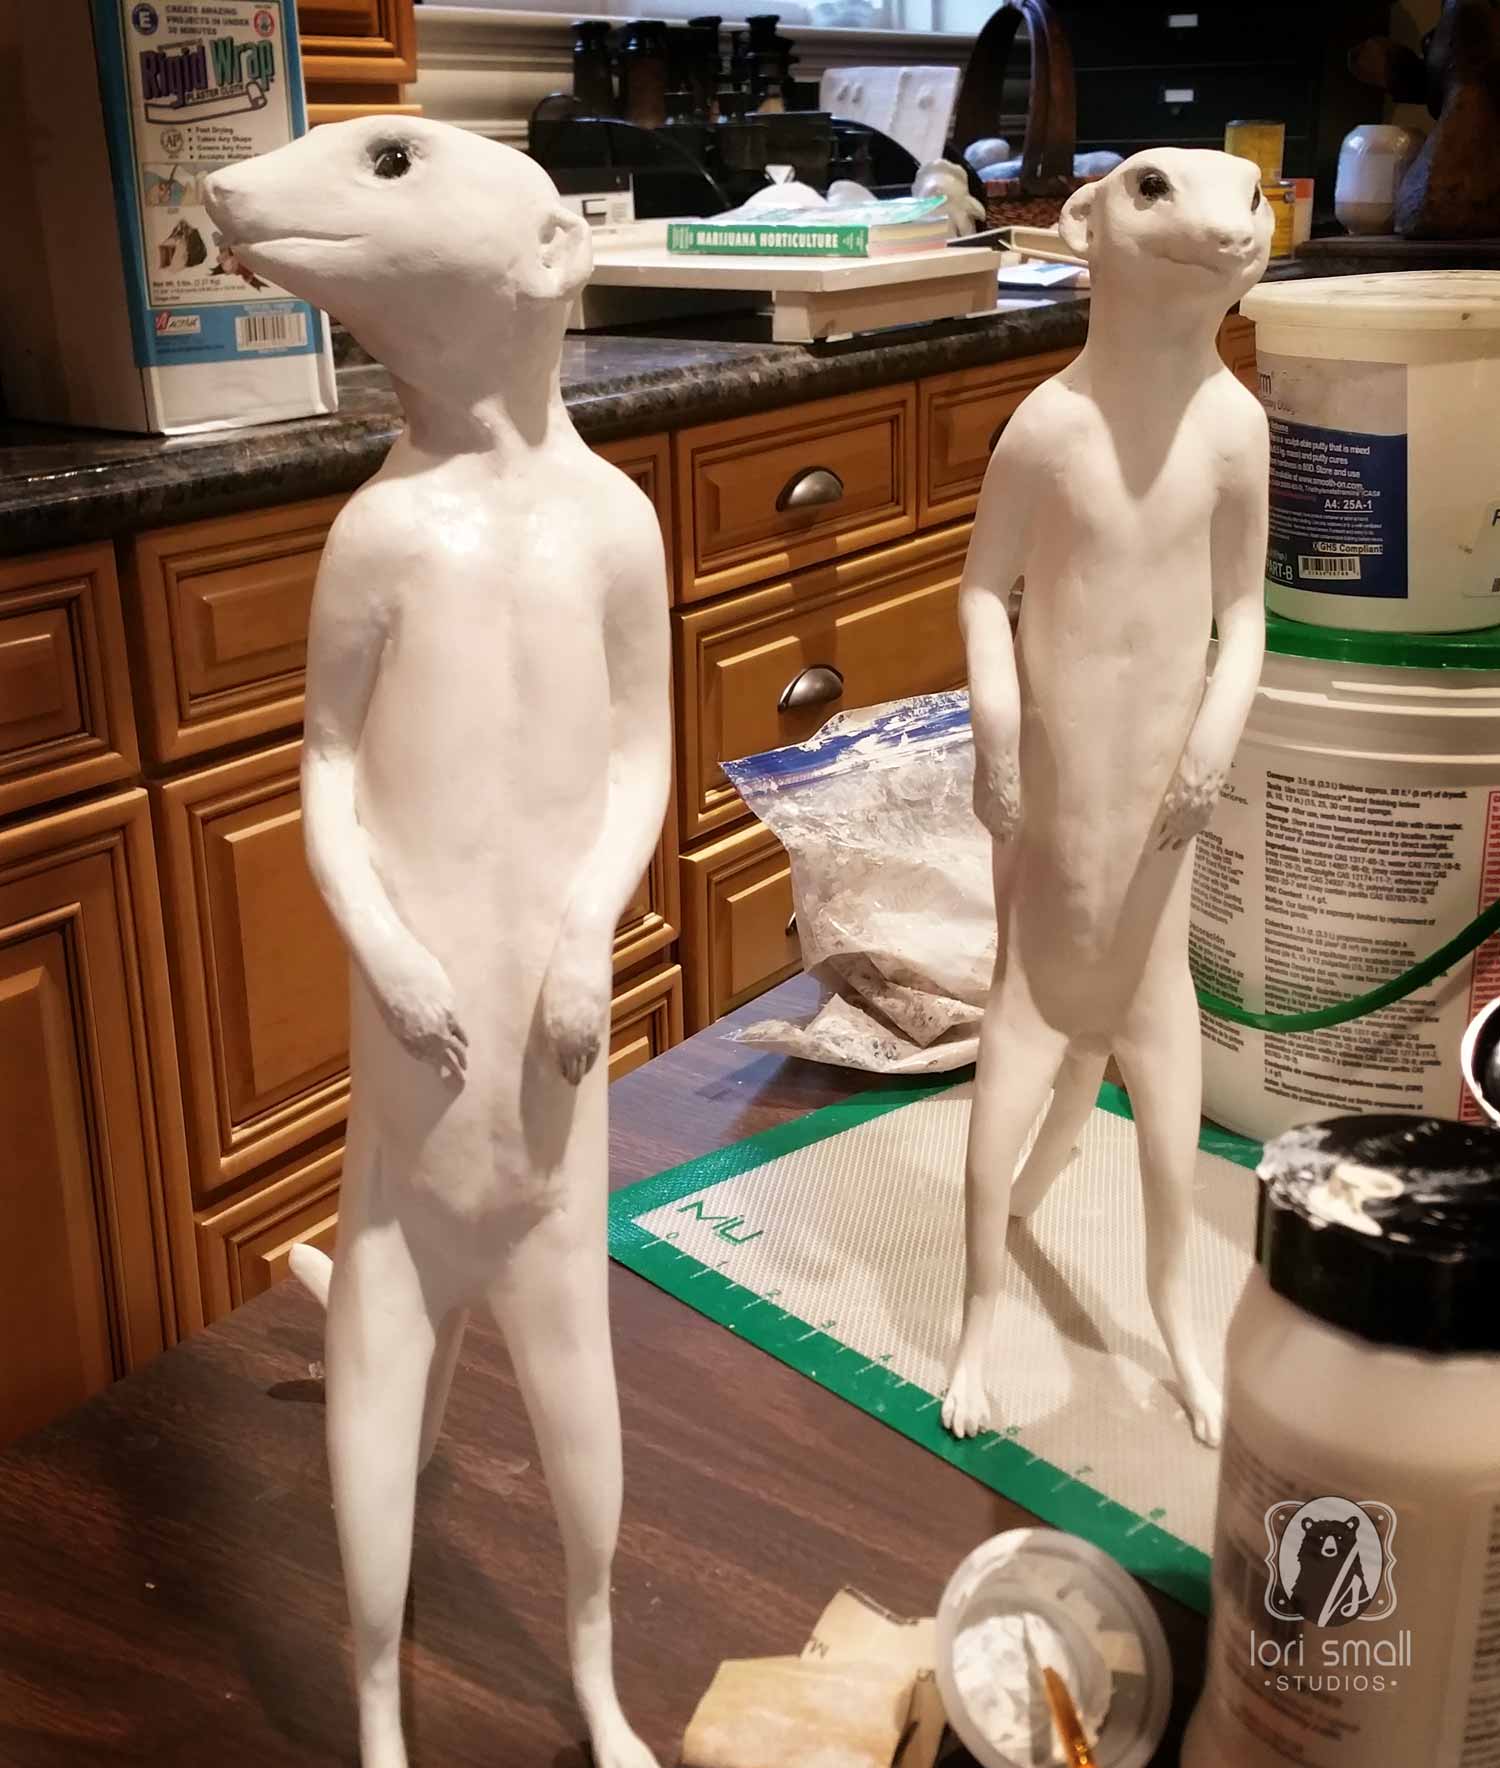
After researching the animal I want to create, I rough out the piece in paper, foil or most anything I have at hand. Sometimes this is done over a hard-wire structure, or a cardboard pattern made by drawing the profile of the animal or piece to scale. At this stage I want to get the structural elements correct and in place.
Additive Sculpting
I’m an additive sculptor. This means I build up materials as I go rather than removing material like someone who sculpts in marble or wood. I once met a fellow who was carving a wooden bear with a chainsaw. Asked how he knew where to cut, he said, “I just cut out the parts that aren’t the bear!” Marvelous!
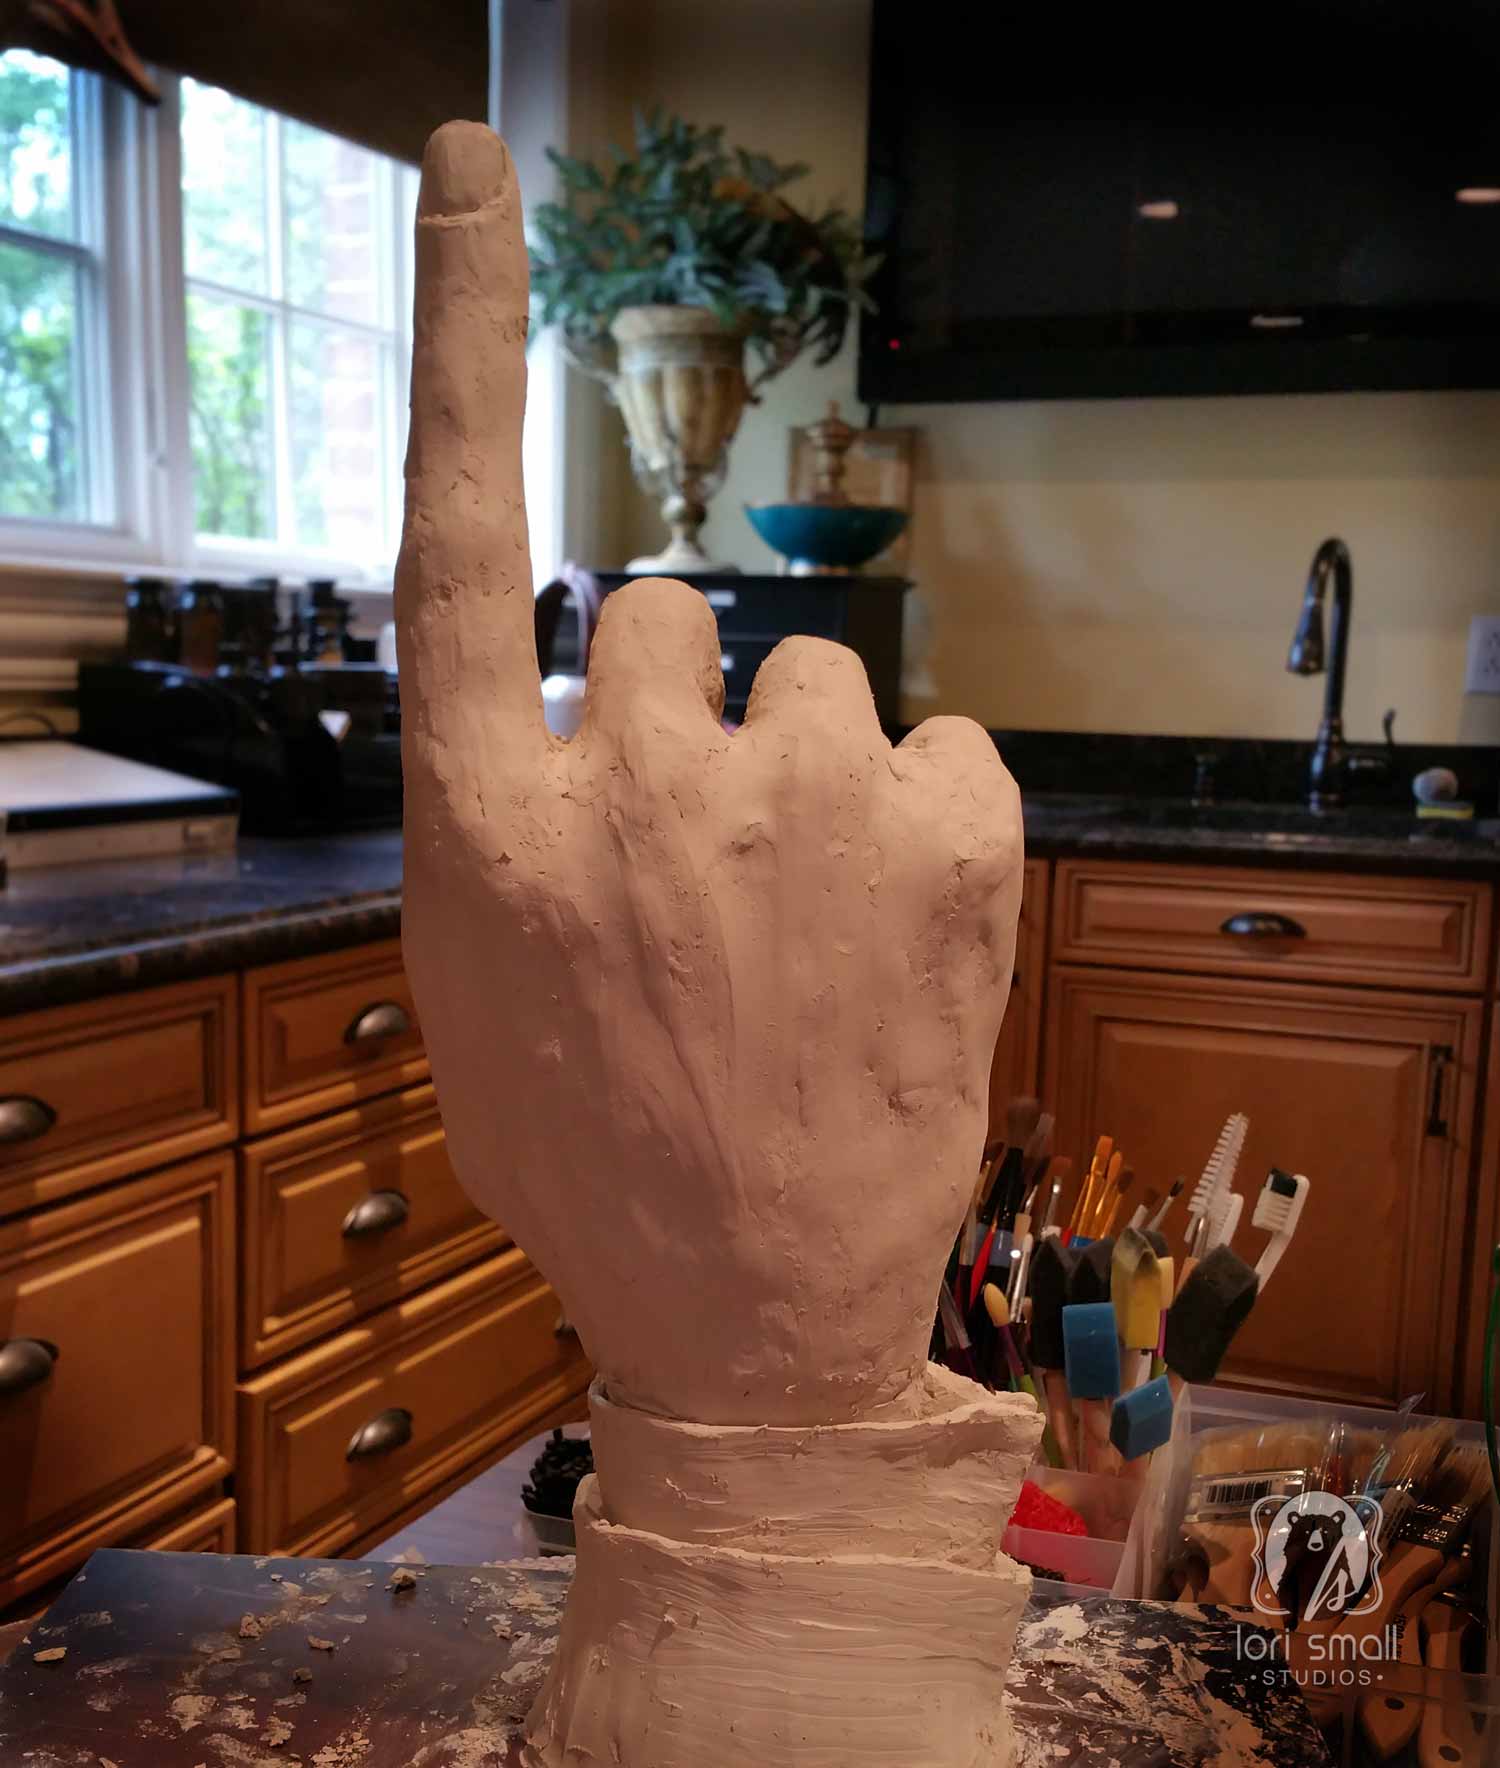

Giving the form more detail
Clay is a wonderful and malleable material. Add a few bits here…take away a few bits there…. As long as you prevent it from drying, it can be manipulated until you are happy with the form.
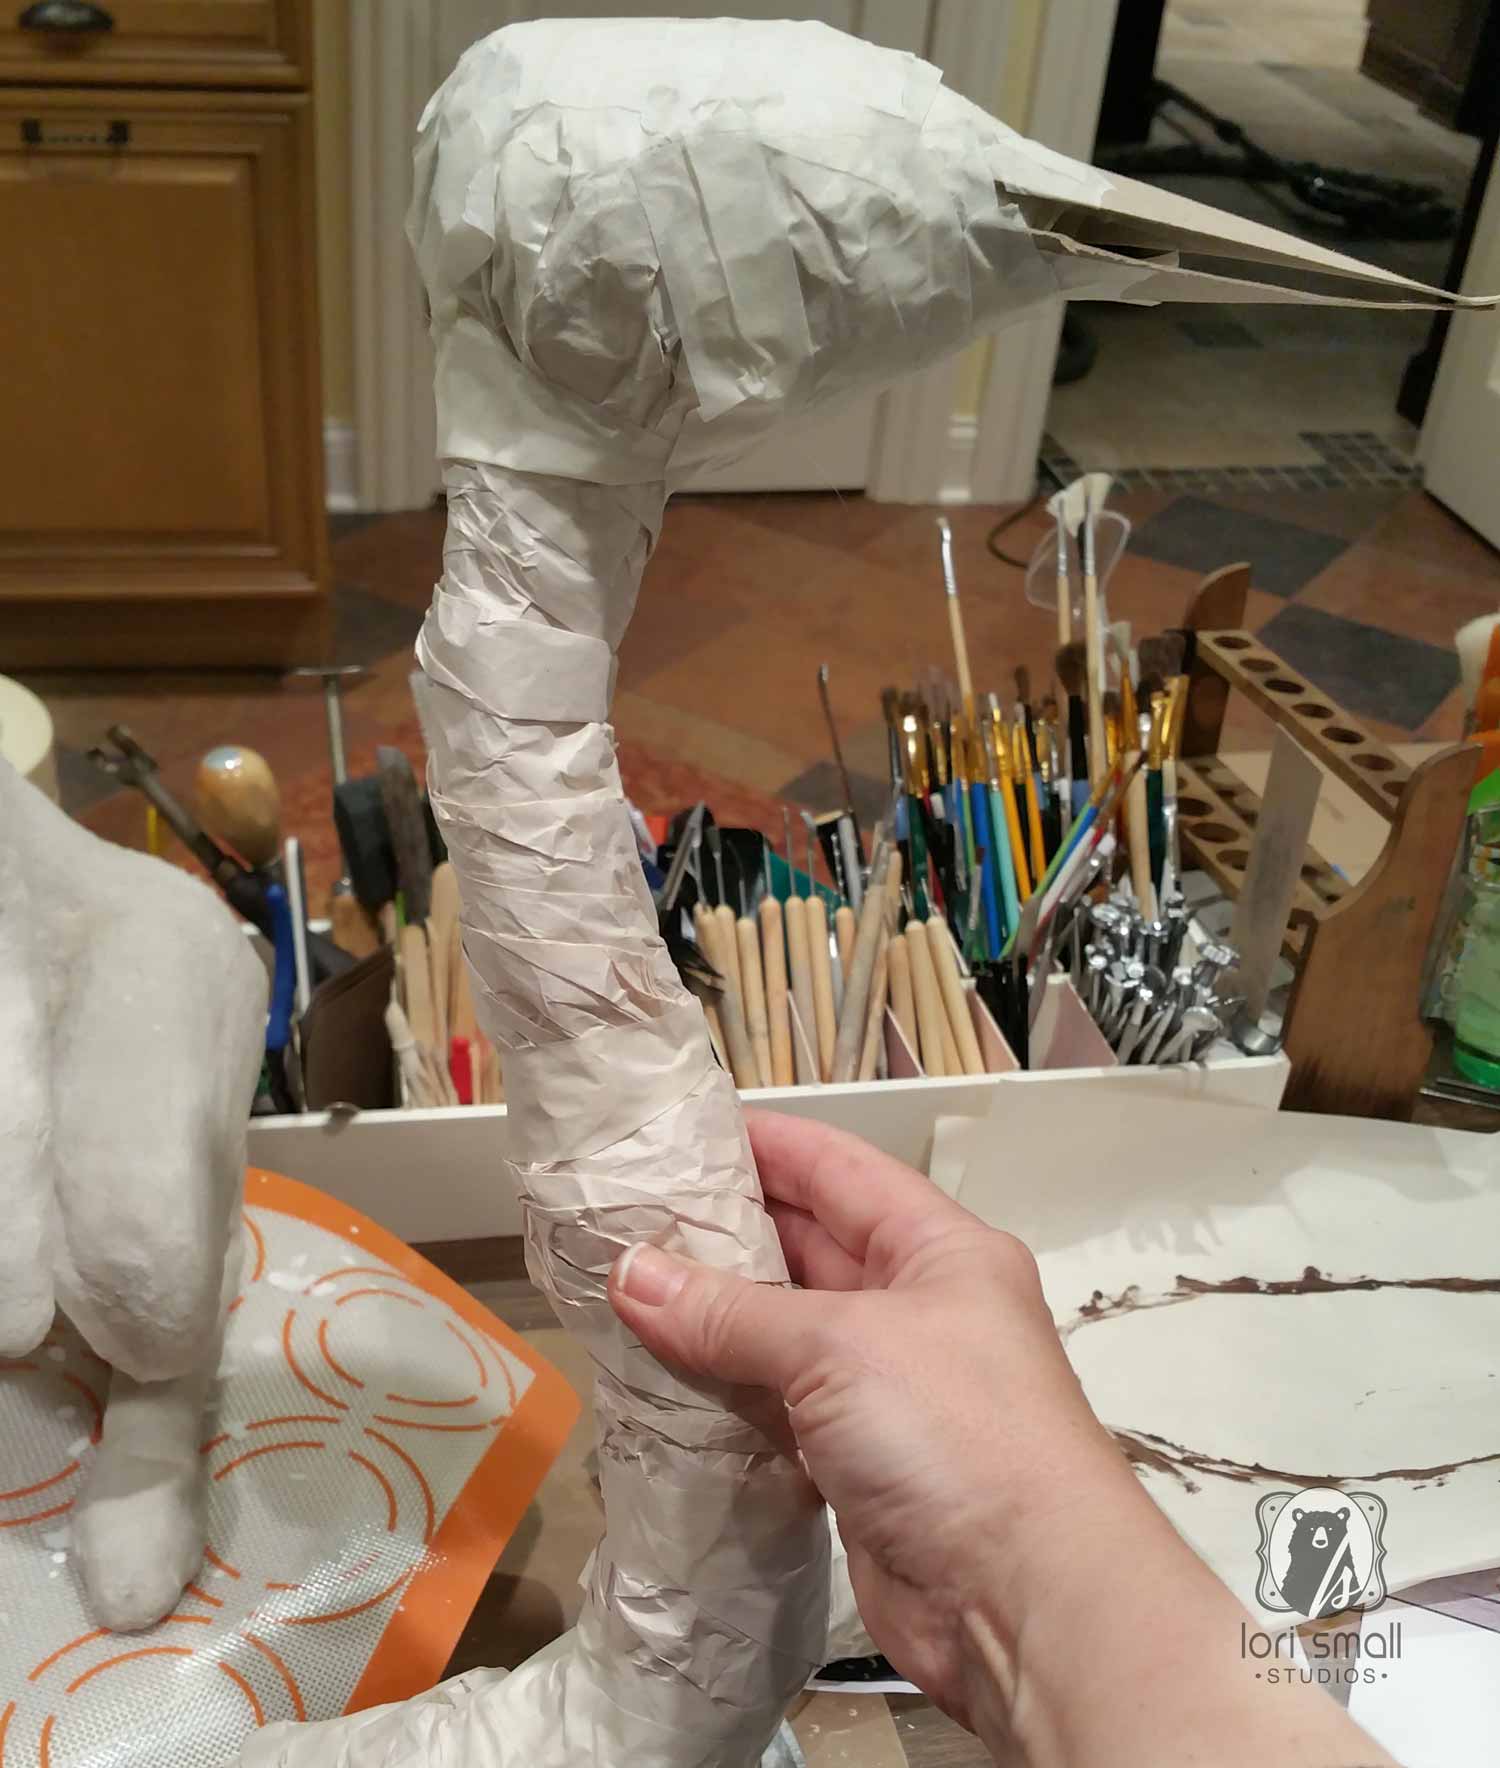
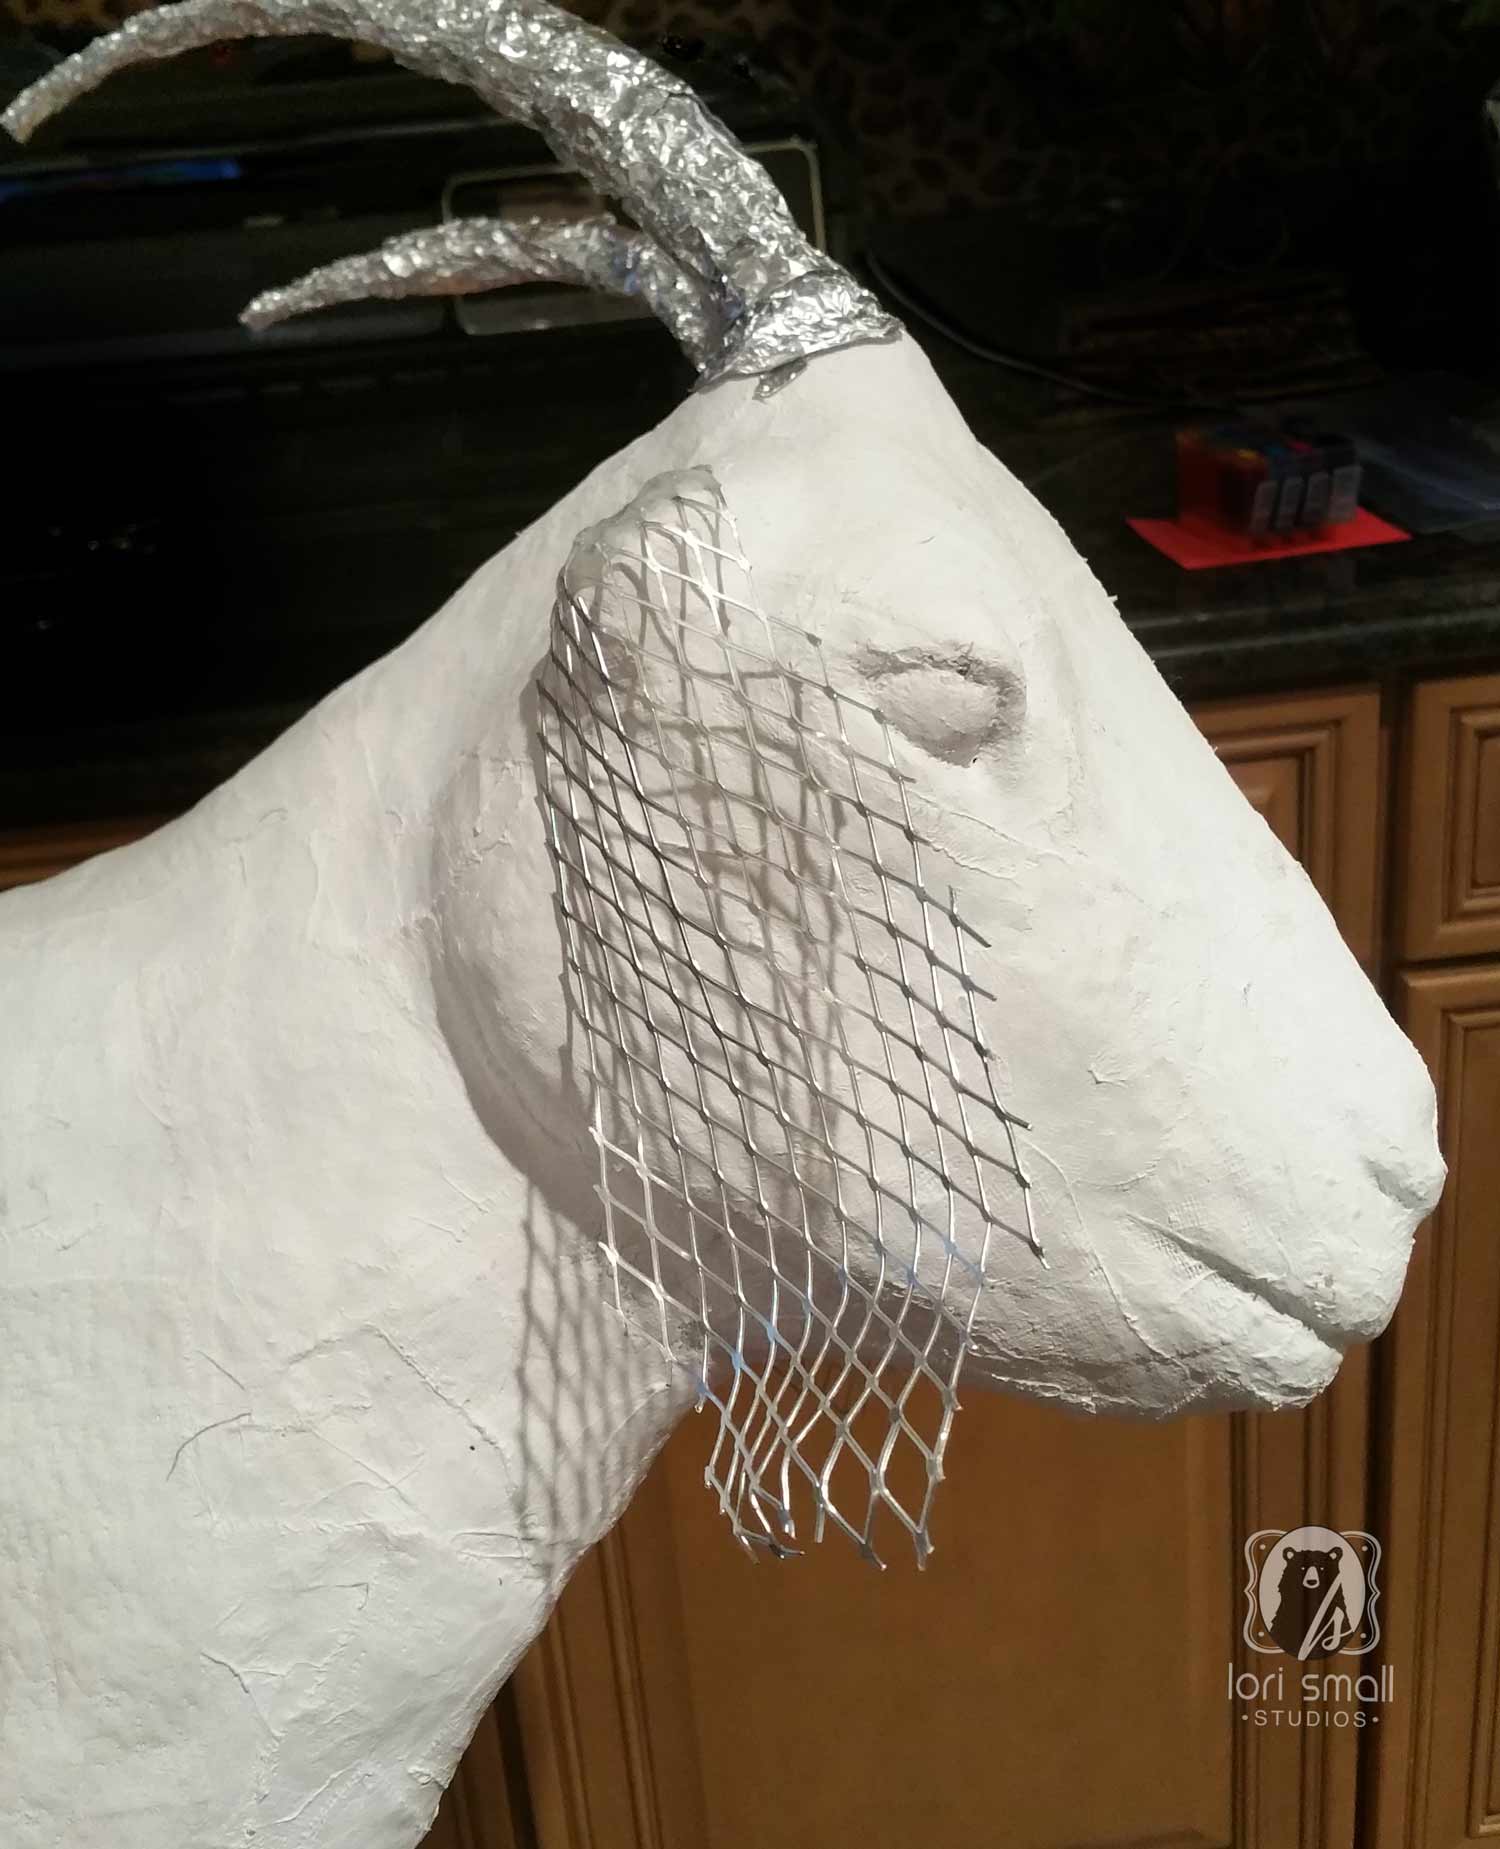
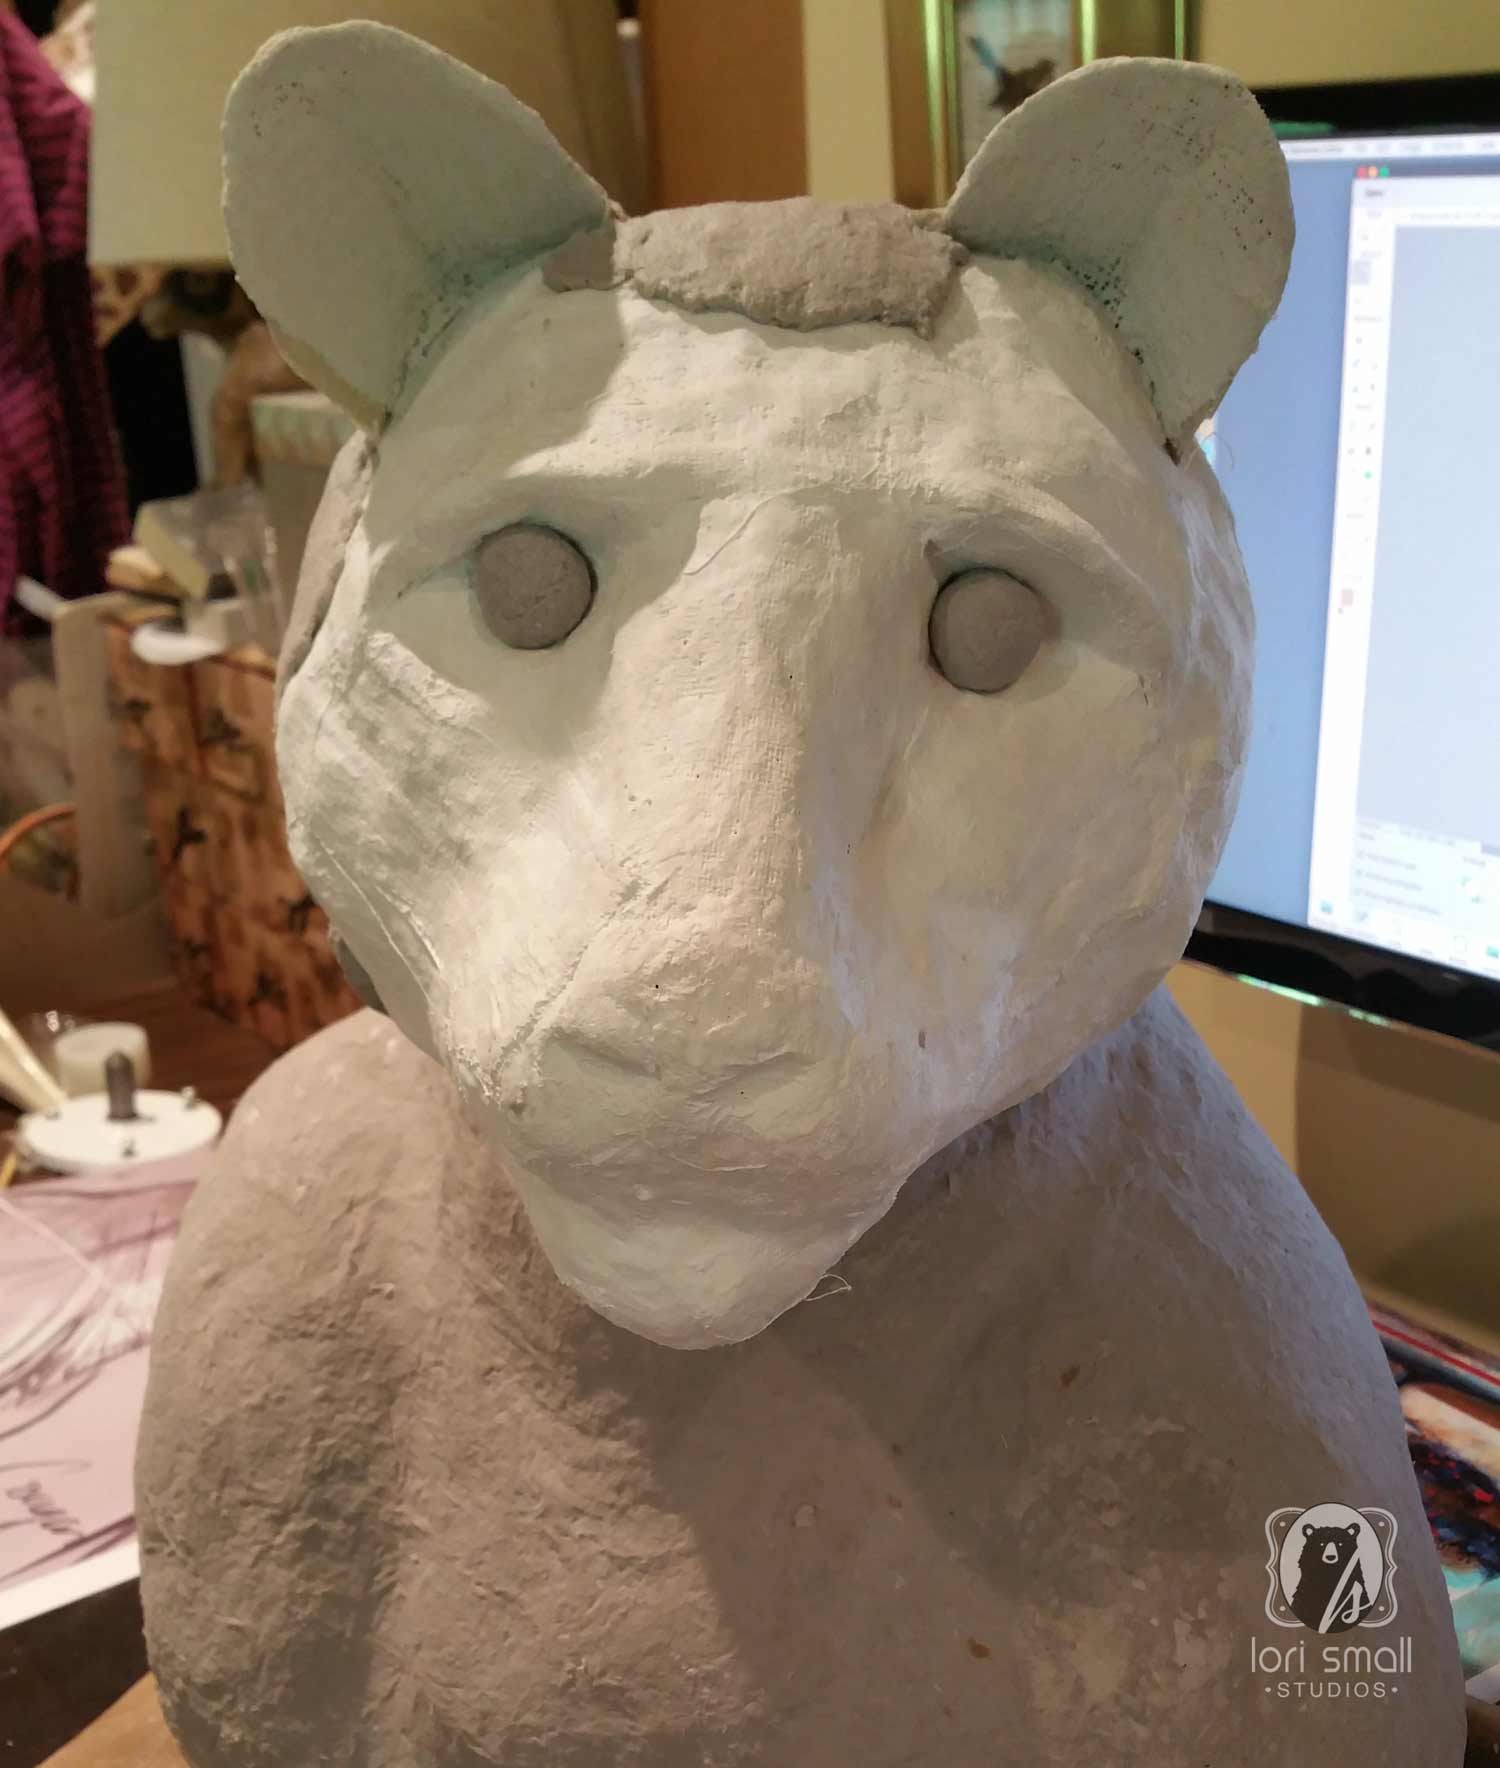
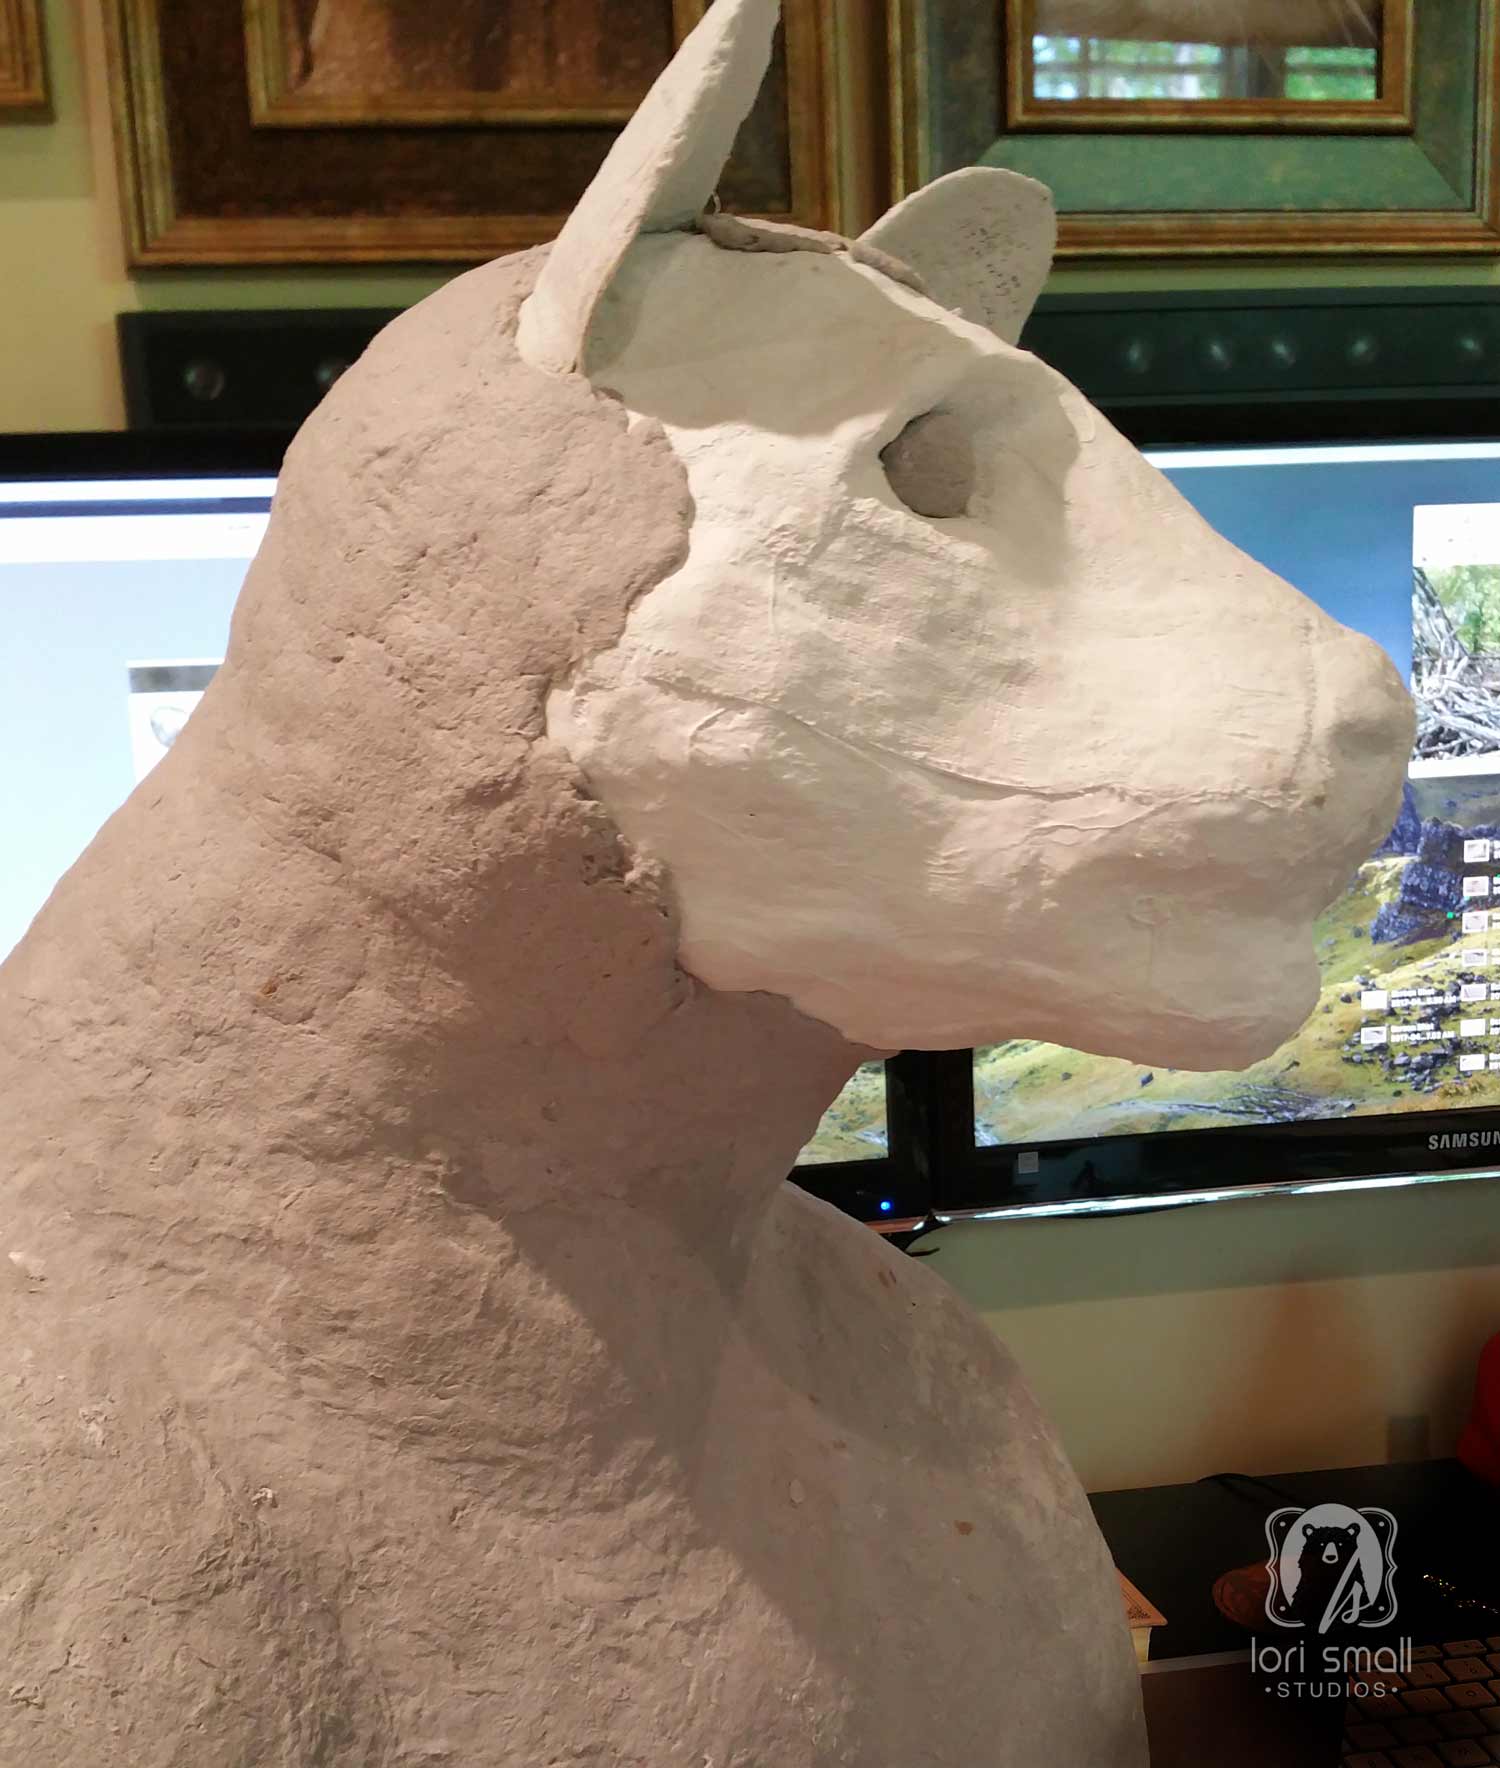
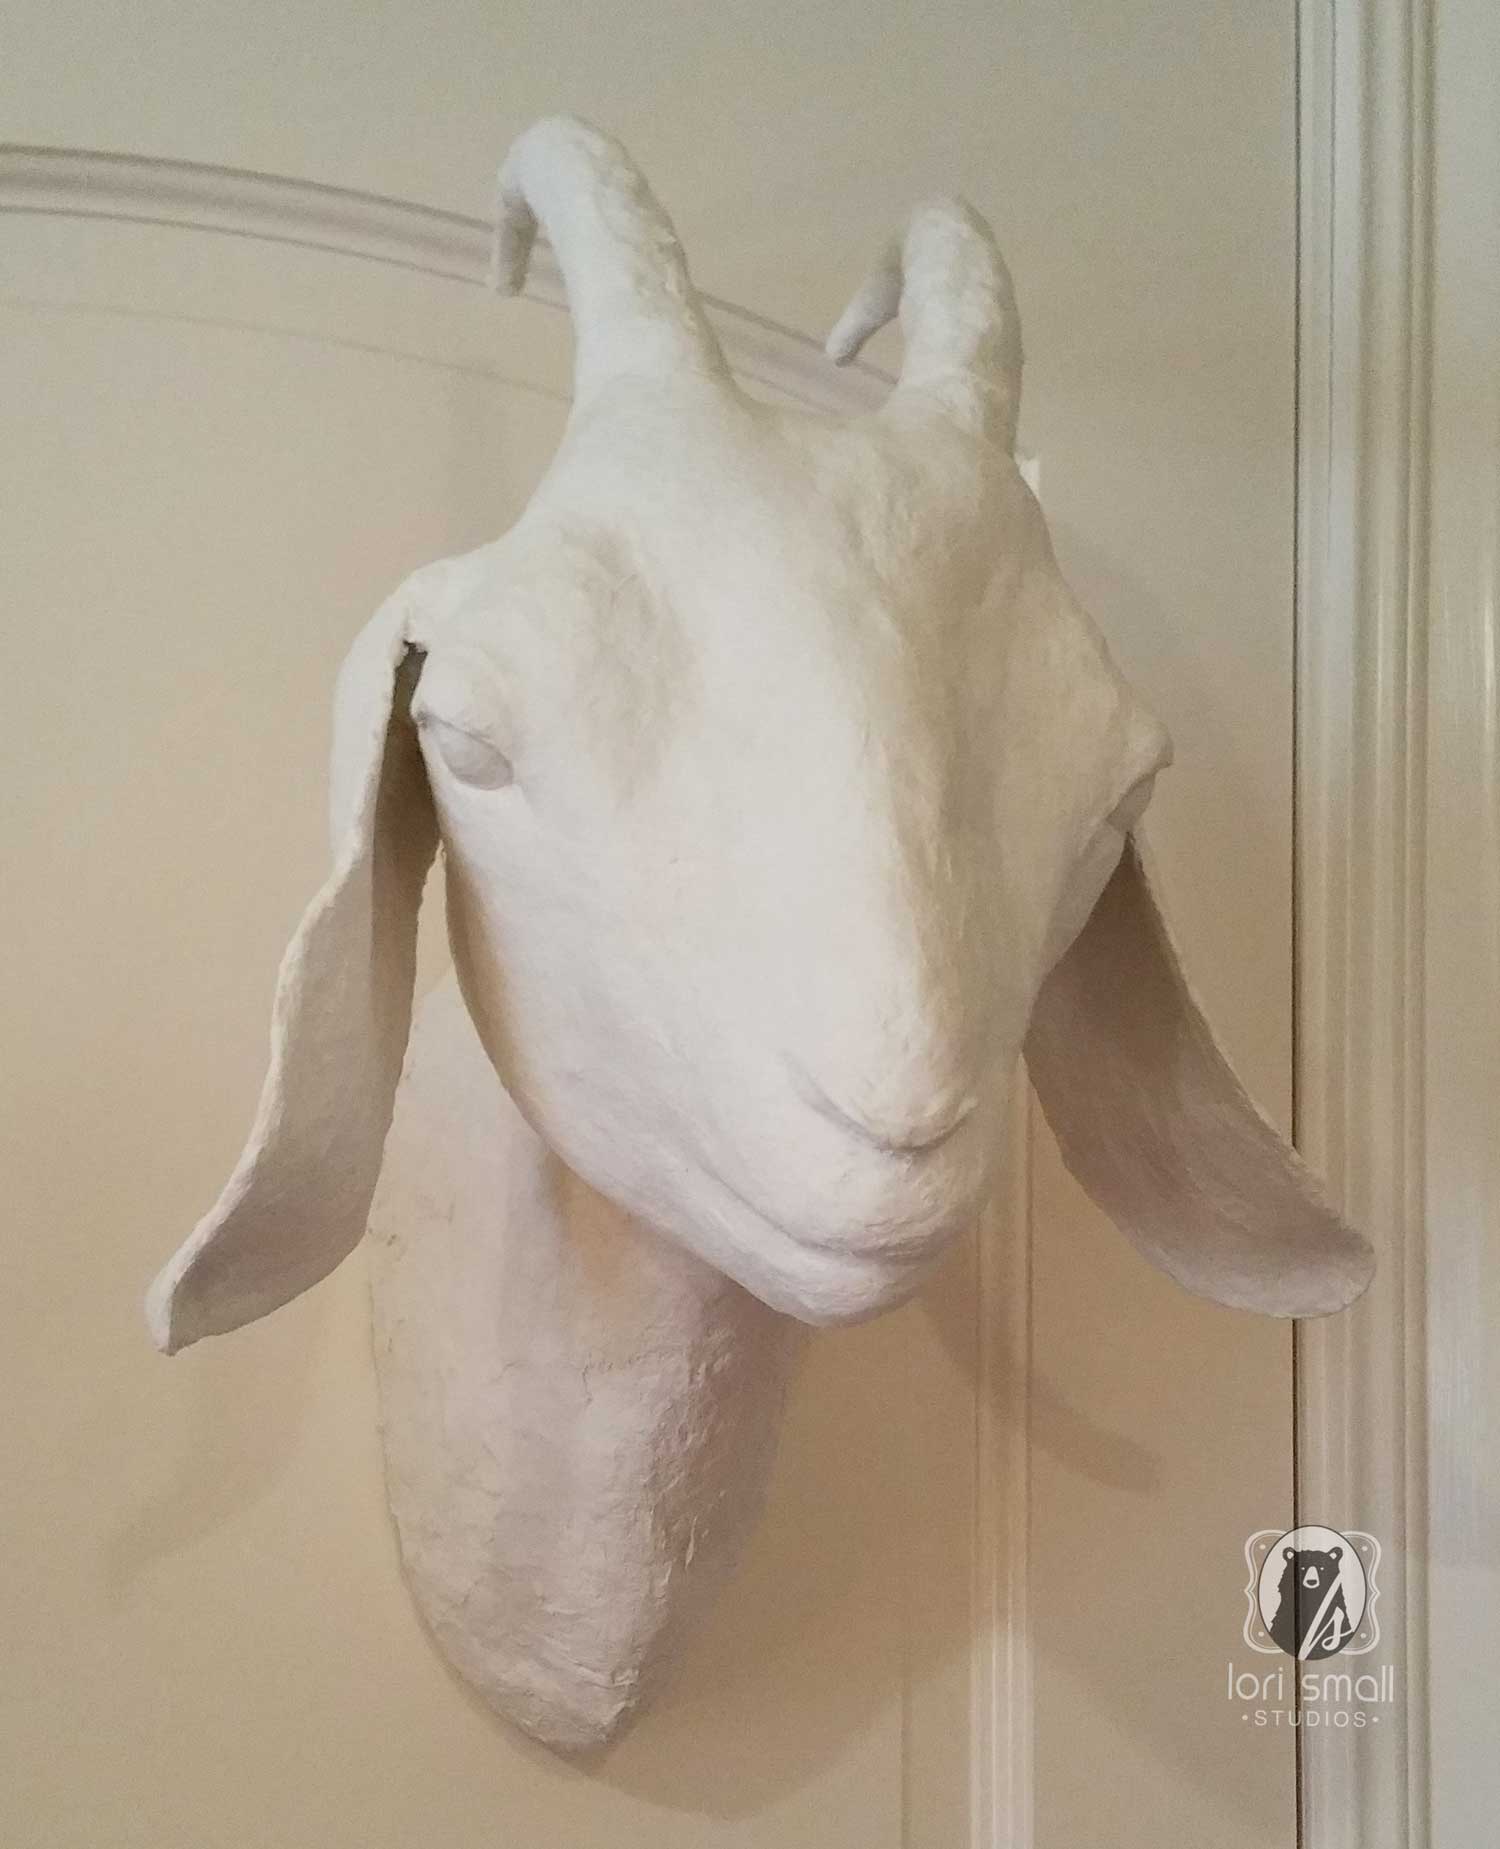
Adding Plaster Cloth
After the clay form is finished, it’s time to add a rigid plaster shell. Plaster cloth can be purchased in rolls and cut to size as needed. The cloth is dipped in water and laid over the form. It dries quickly and becomes the base on to which the final paper mache clay will be added.
It is at this stage that other structural and or decorative elements may be added such as the wire mesh that form a base for the goat’s ears.
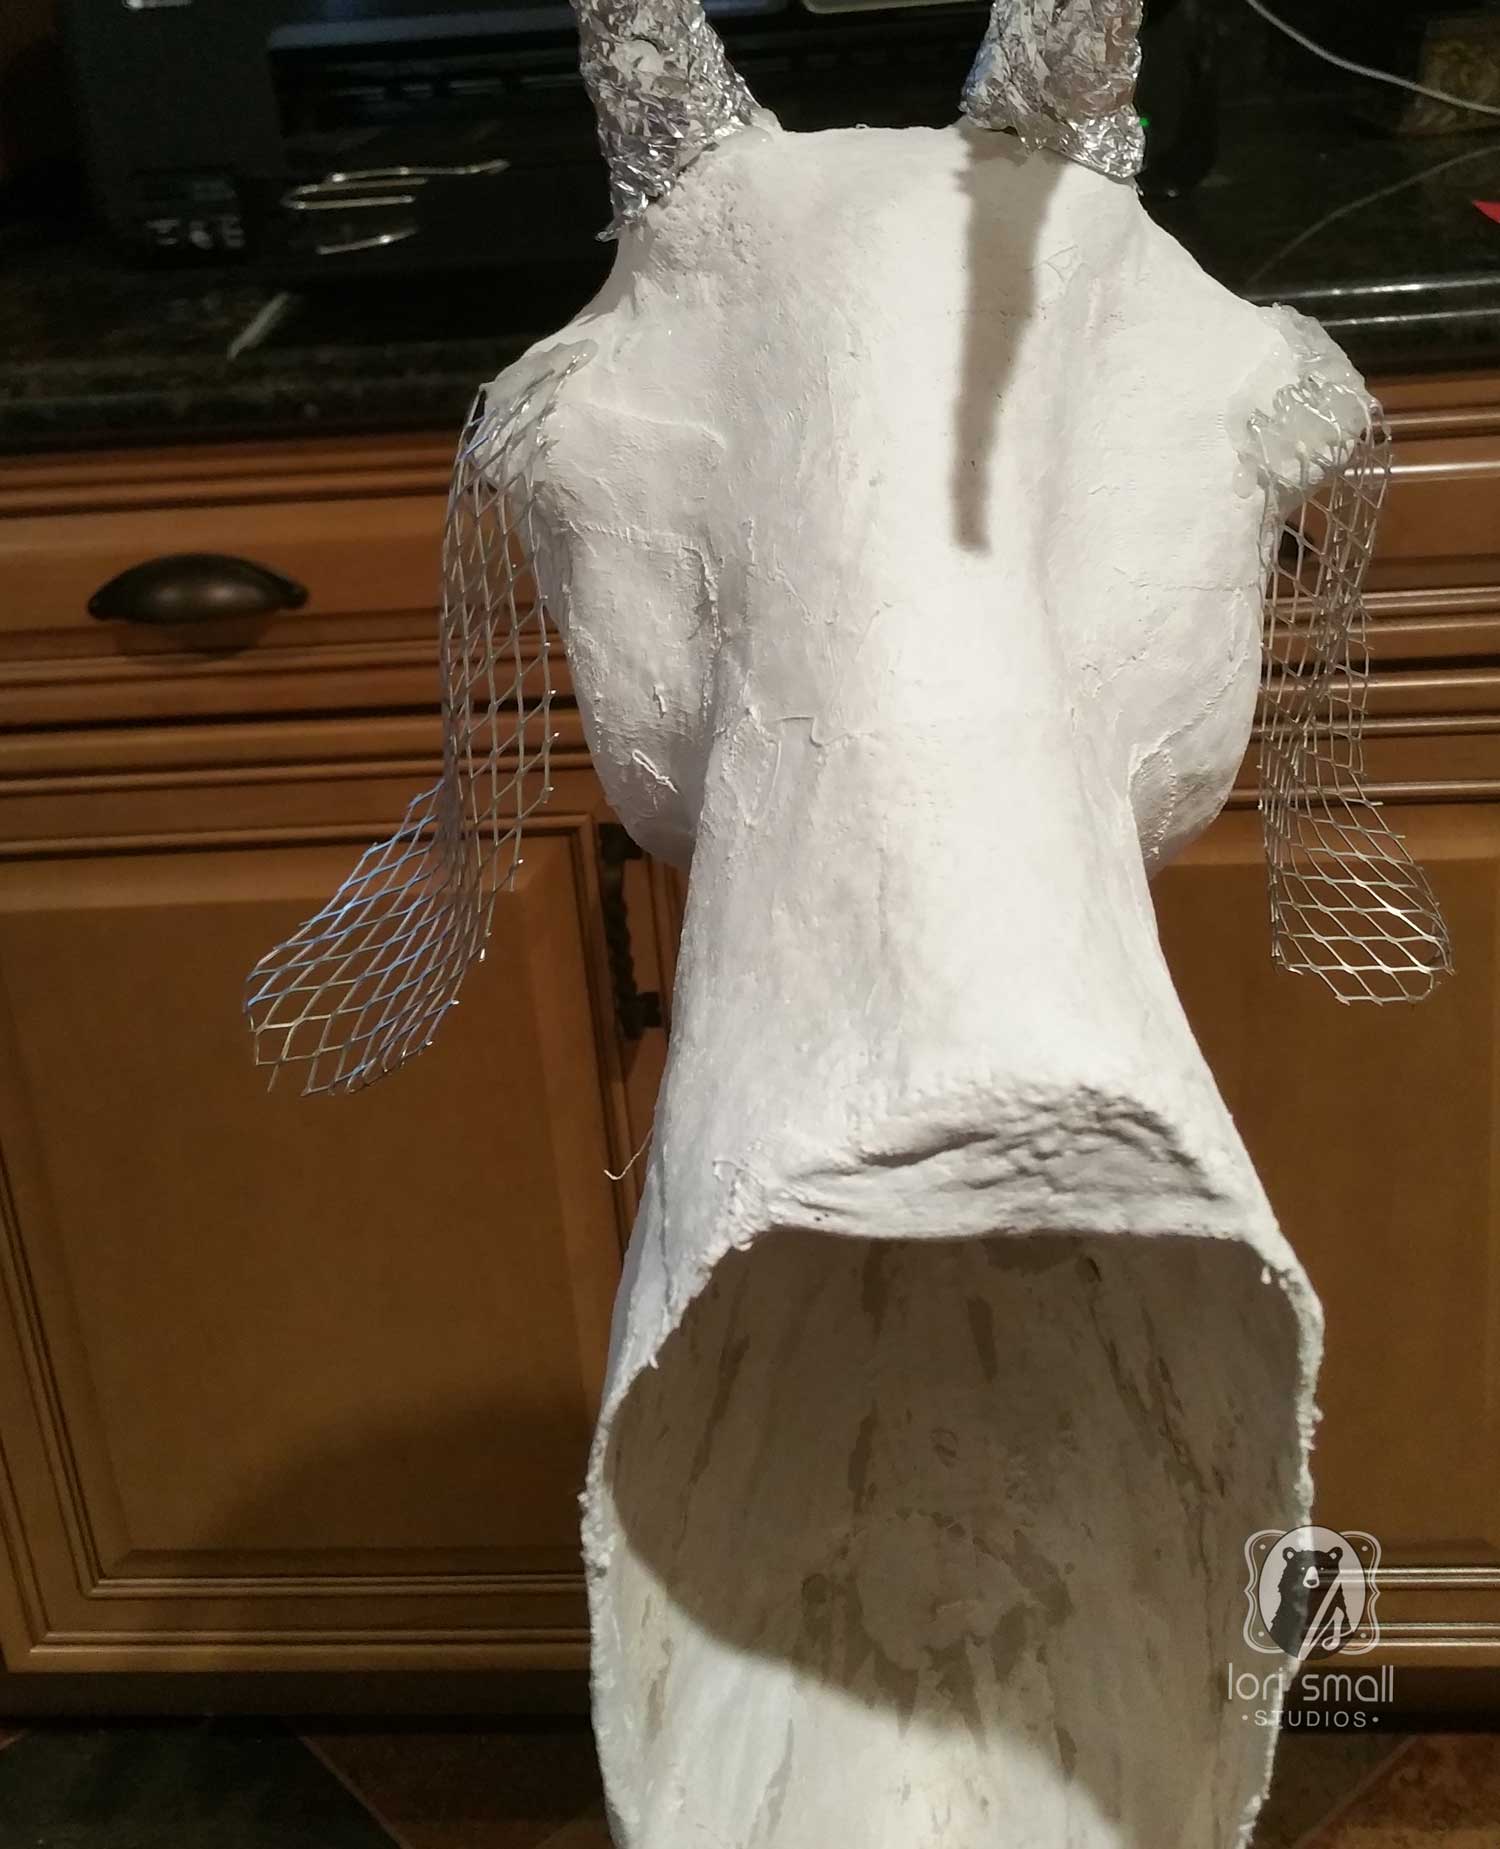
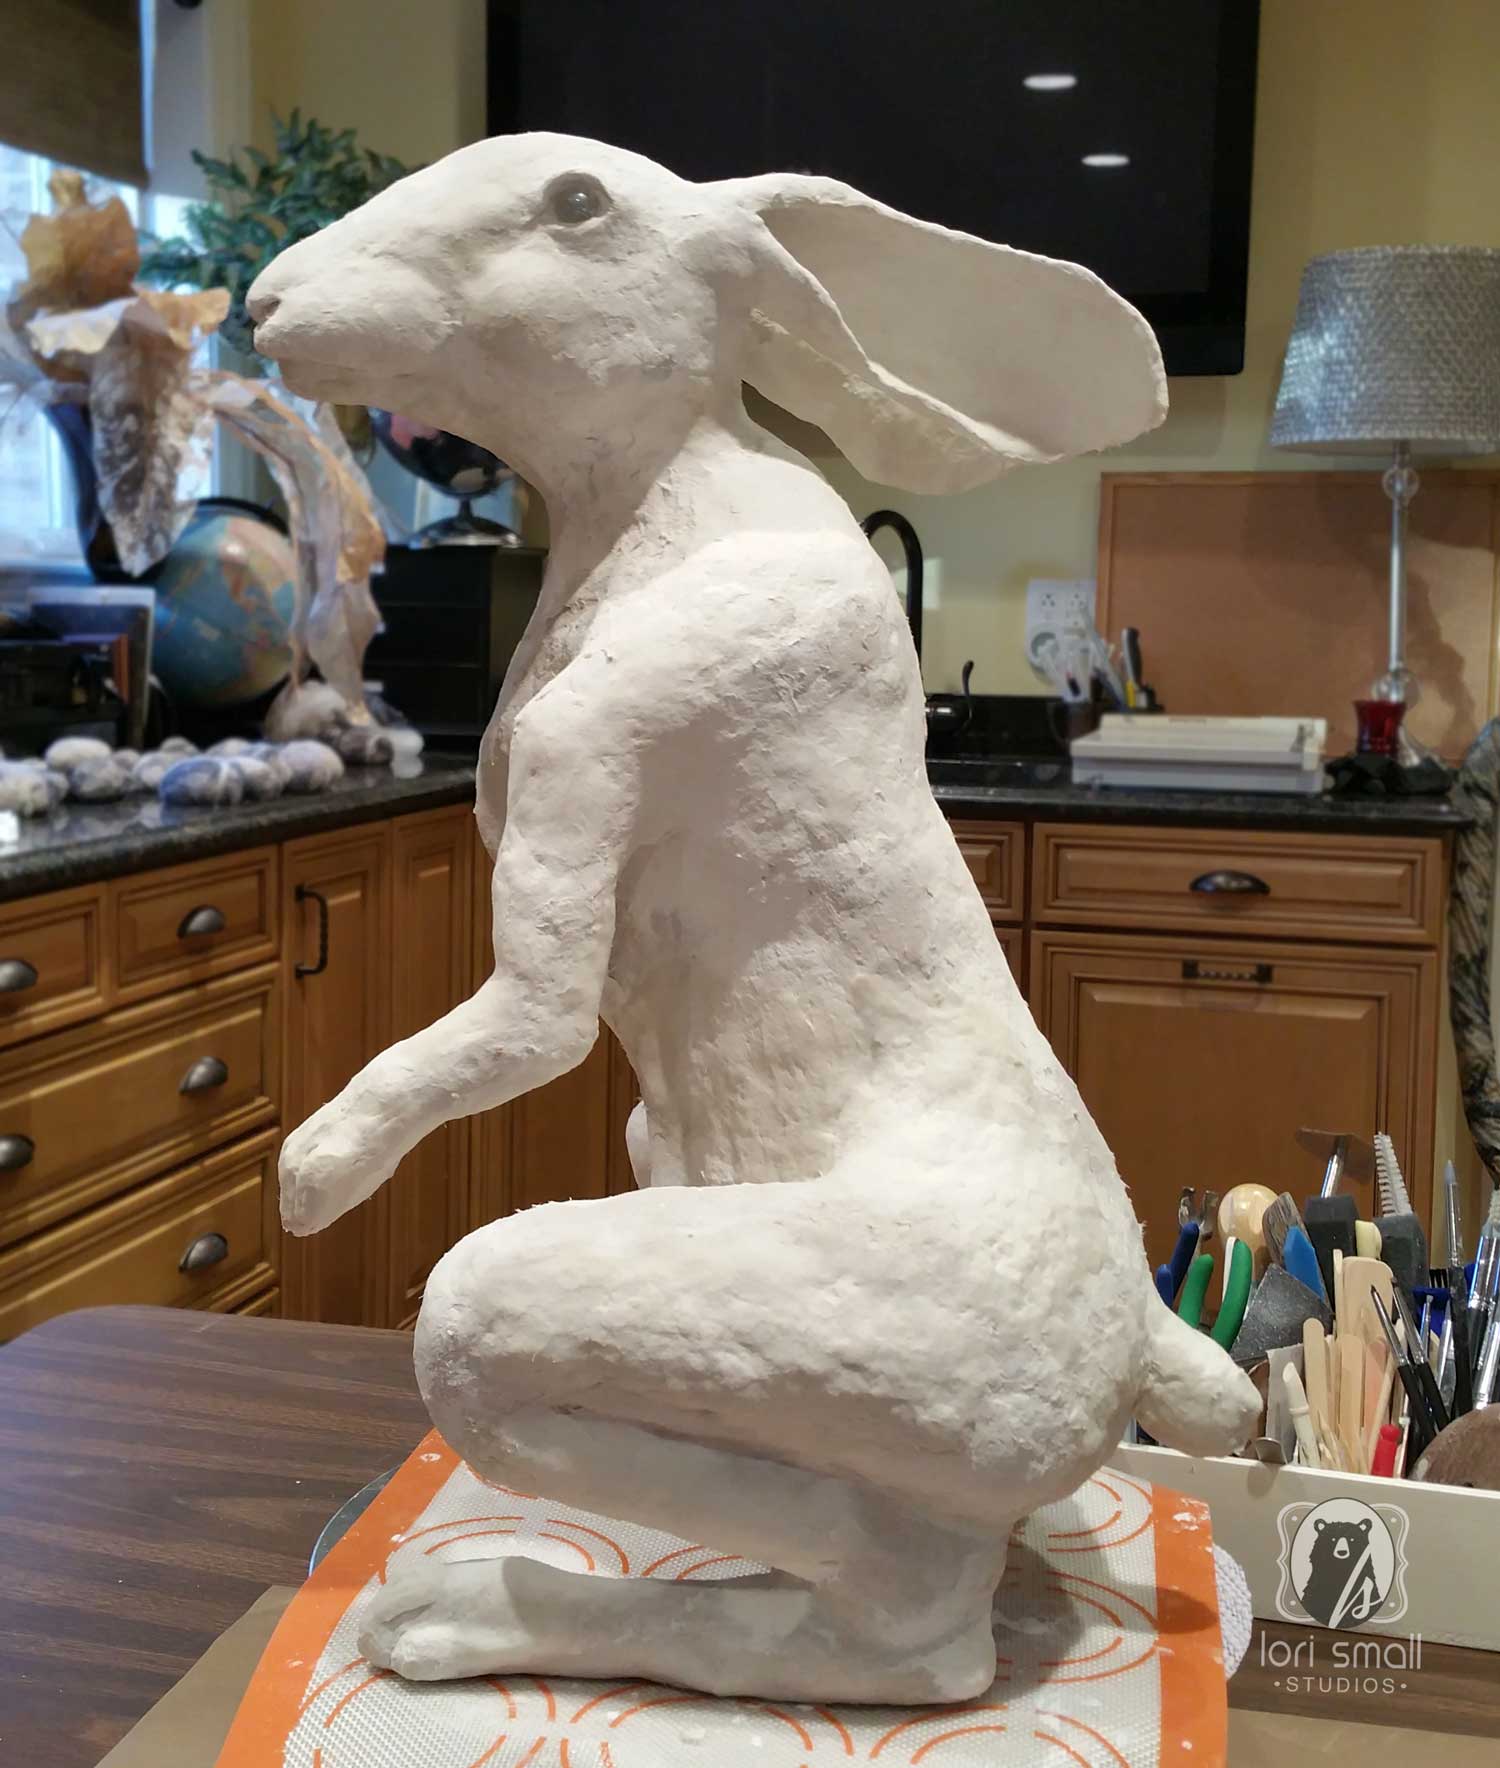
Removal of the internal form
Once the plaster is dry and the shell is rigid, the internal form and clay are removed. This allows faster drying of the paper mache clay that will be added next. The inside of the plaster can later be painted and finished as well.
Adding the Paper Mache Clay
Now it’s a matter of adding the final air drying clay and creating the details. I use various clays here depending on the project. For some I use the traditional method of soaked paper pulp with adhesive binders and for others I use a paper, adhesive and plaster combination. Regardless of the type, they are all made in the studio and not store bought.
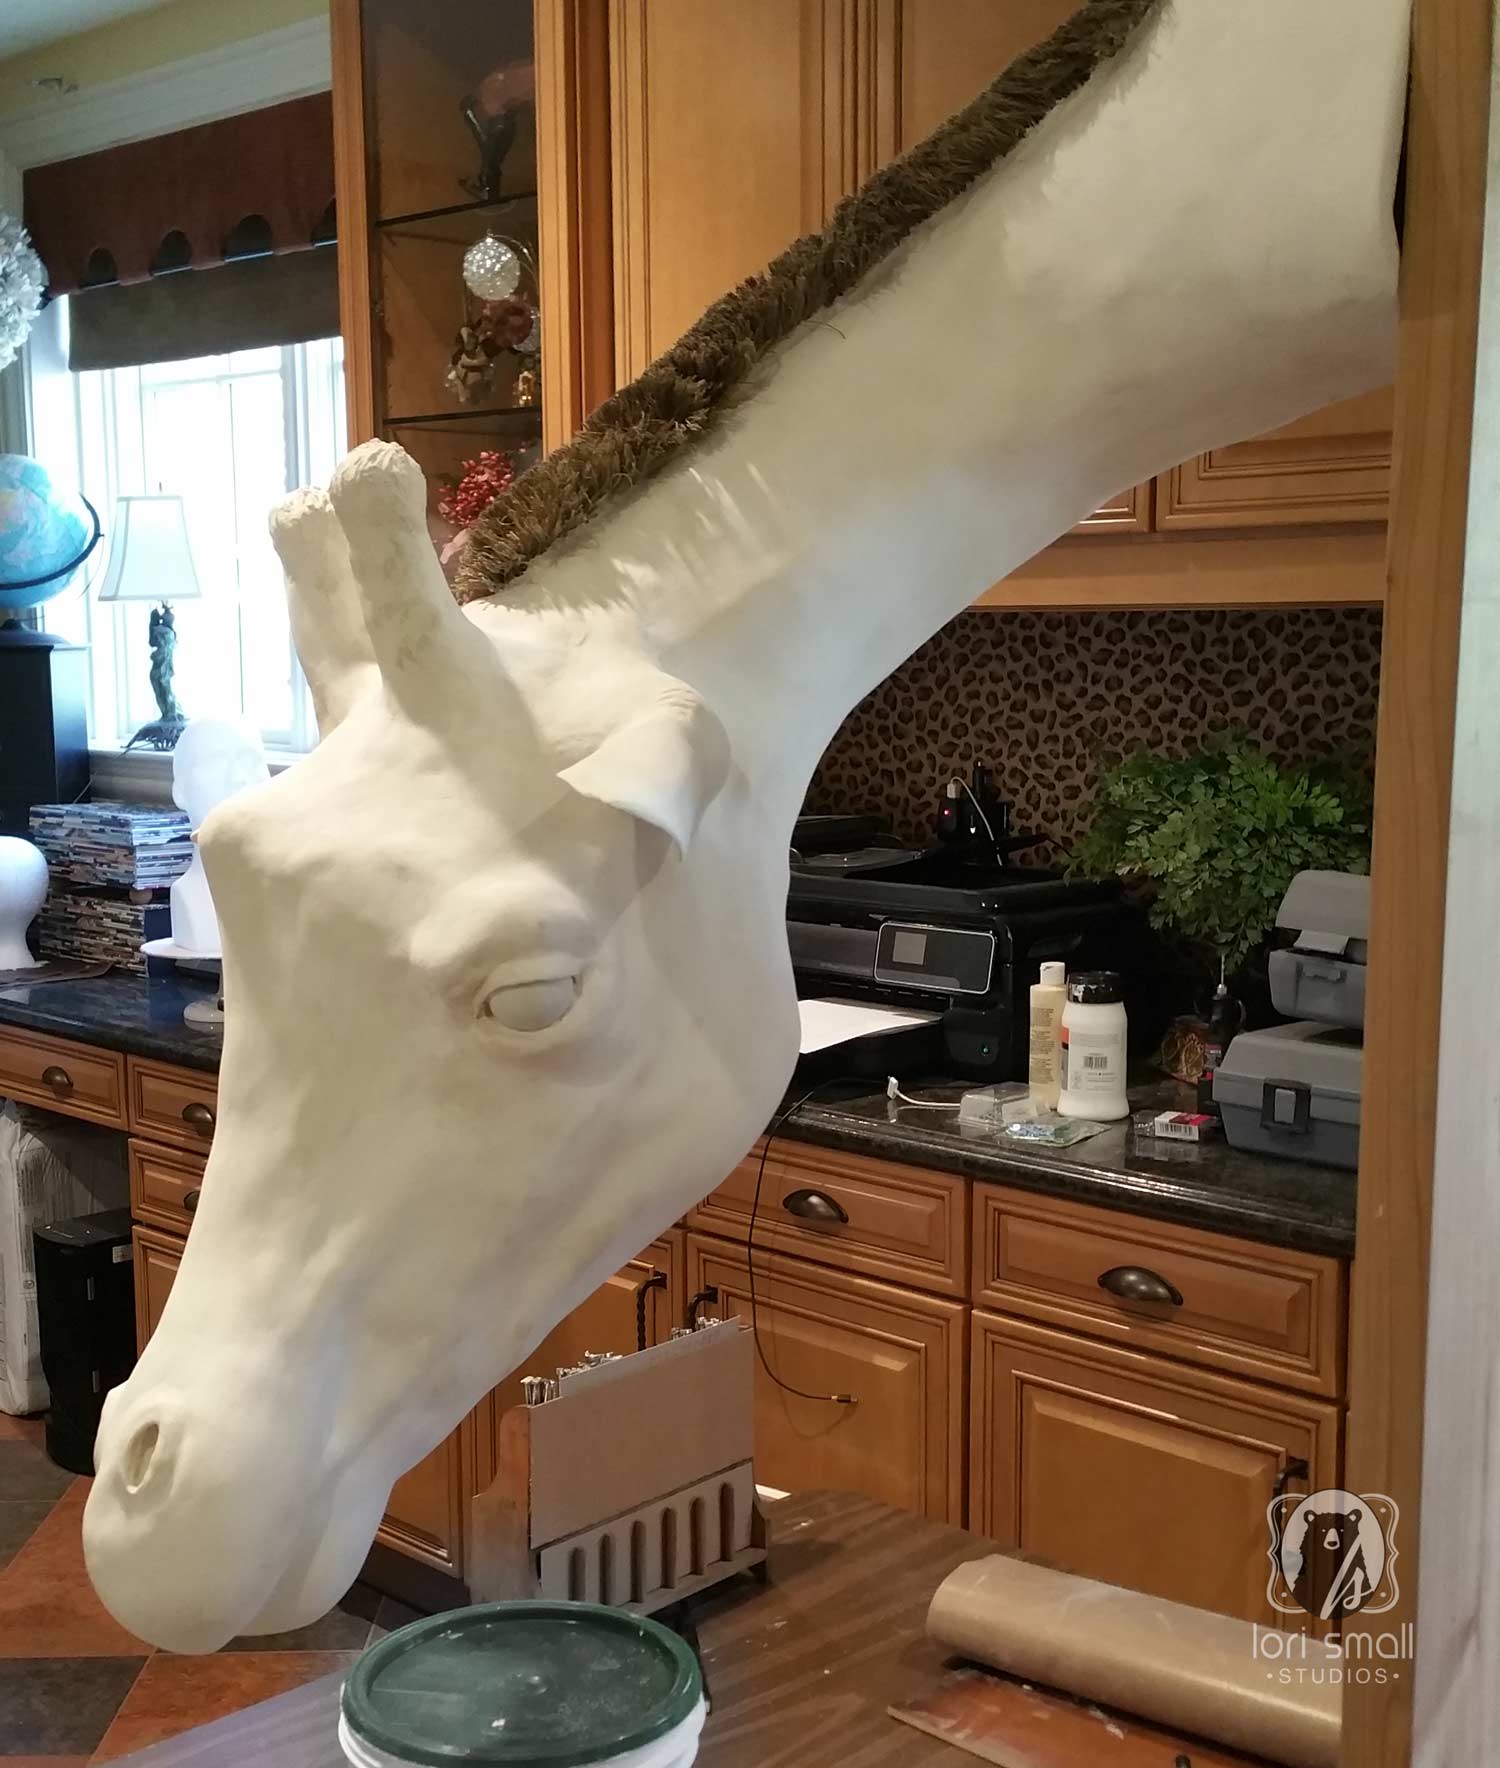
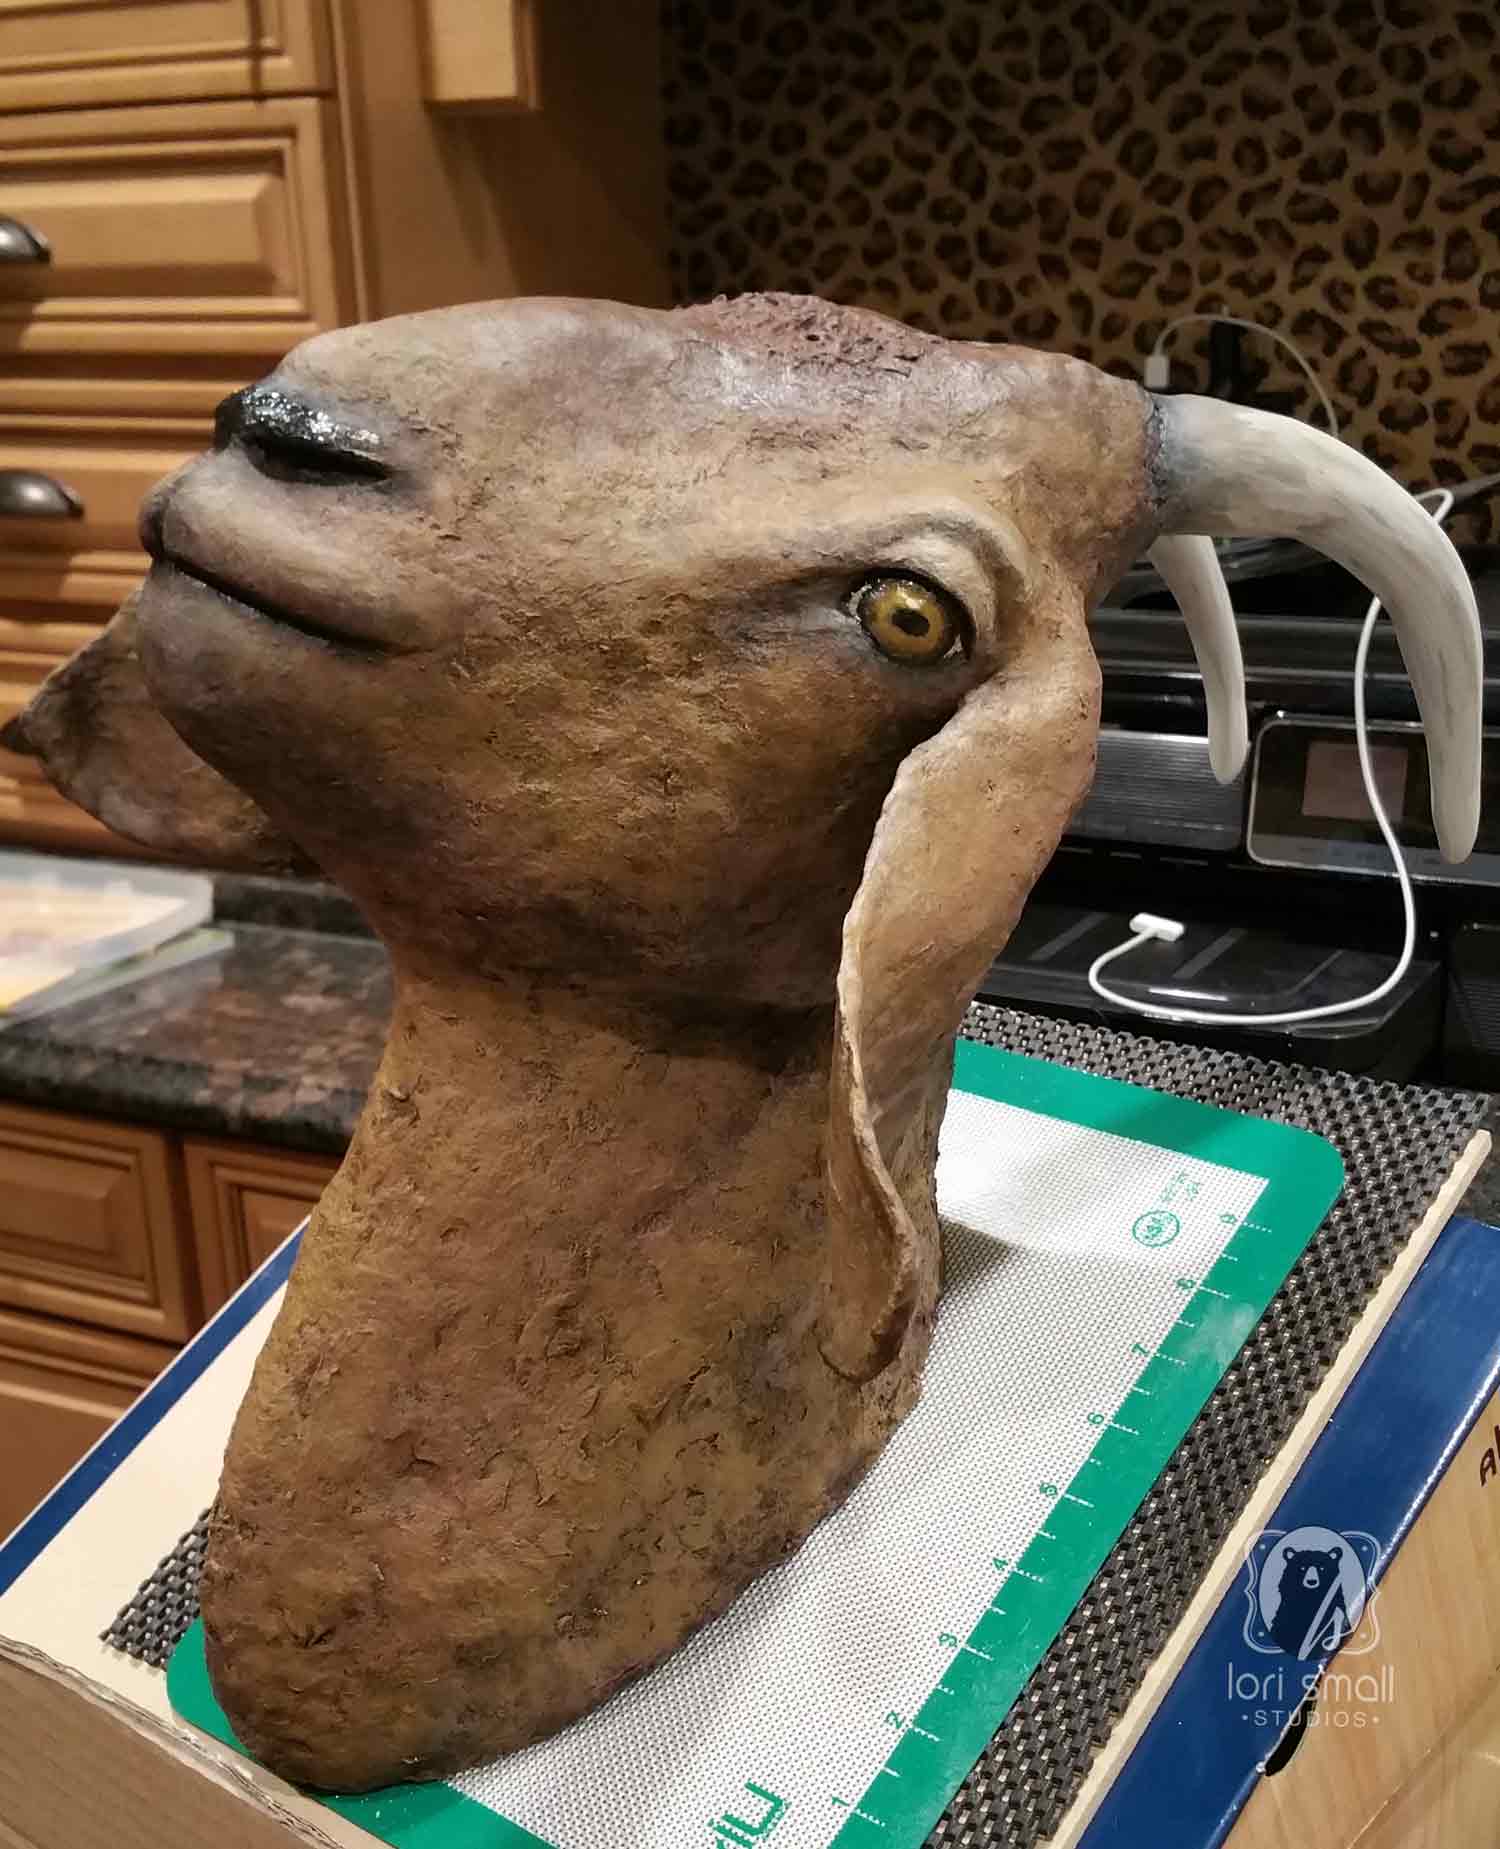
Prepping the surface for painting
Here I refine the texture that has been created for the surface of the piece. I may sand, smooth or add additional texture to the surface. This is followed by a priming and sealing base coat that readies the surface for painting.
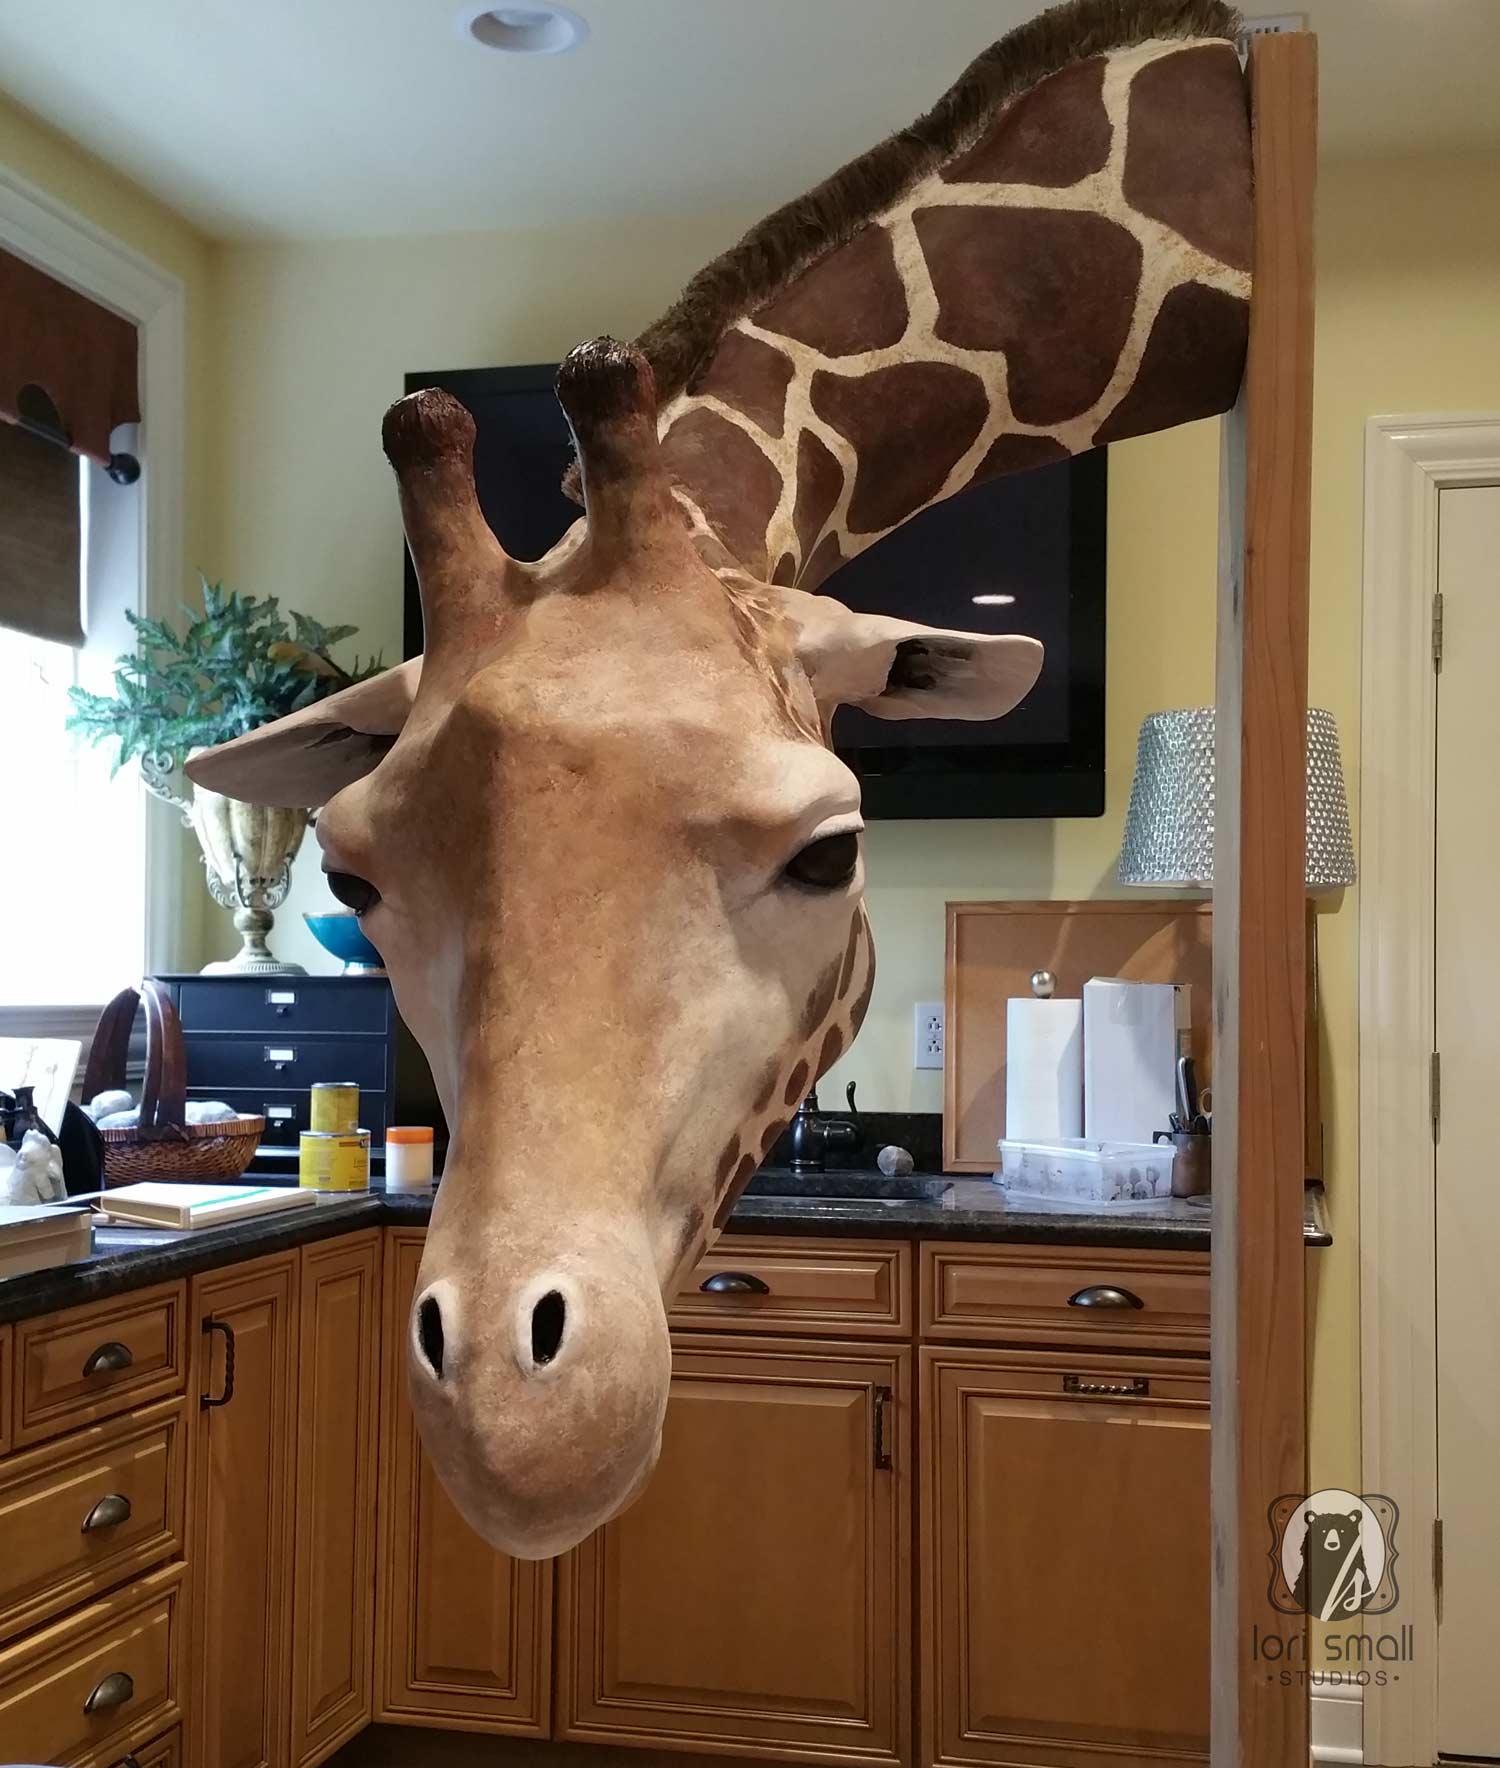
Painting and Finishing
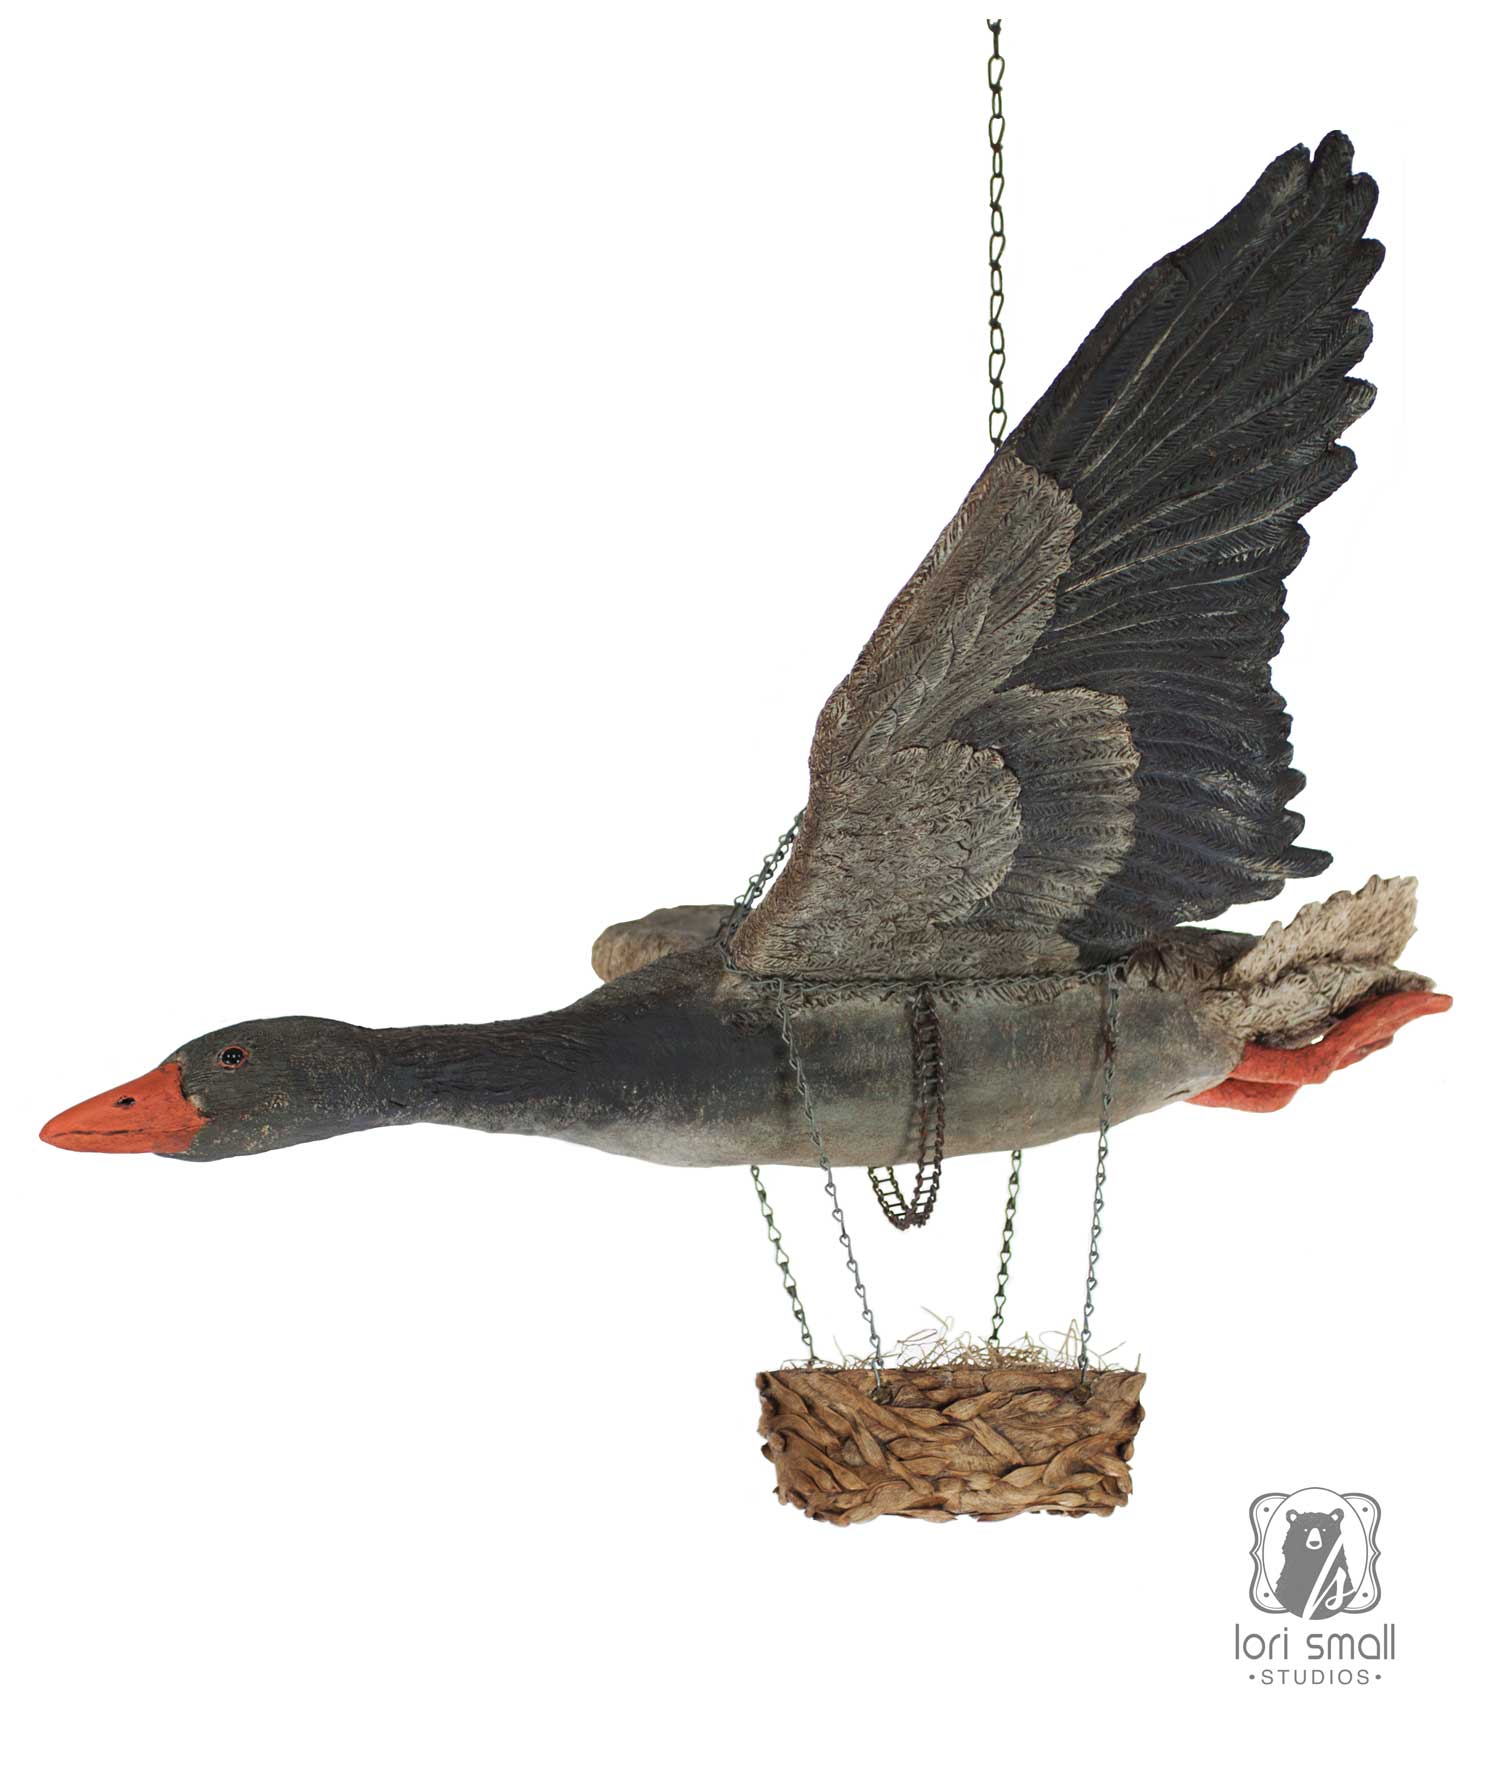
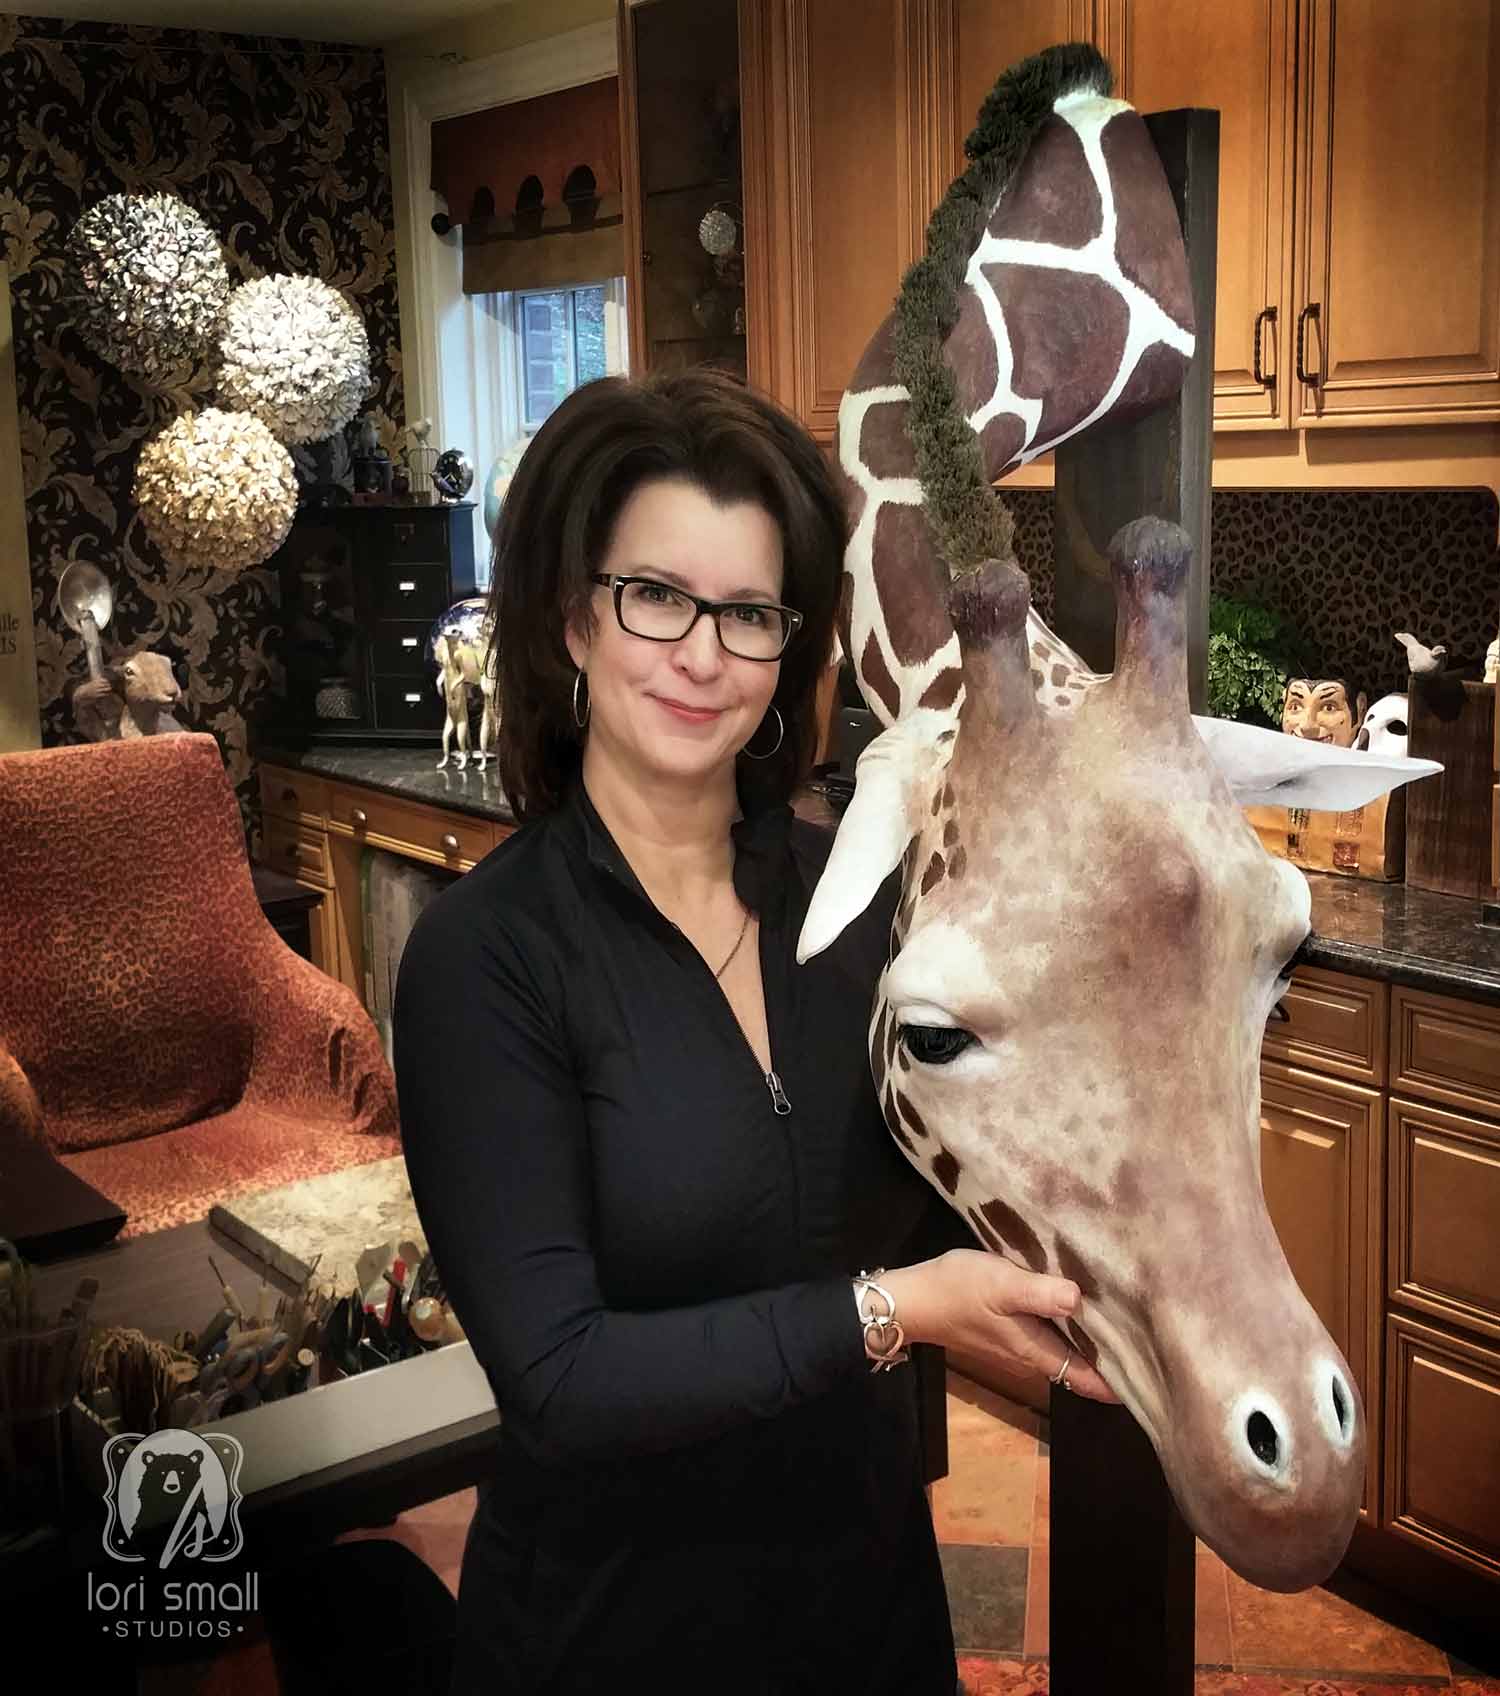
This is when I smile a lot! It’s really rewarding to see a piece, particularly an animal, come to life with the addition of color. The painting process is perhaps the quickest phase for me. Maybe it’s because I feel more comfortable with a brush in my hand than just about any tool or material.
Once painted, each piece is given several coats of a matte polyurethane finish and they are ready to go!
I accept commissioned work and custom projects throughout the year as my workflow allows. Drop me a line to request a sculpture, painting or other creative endeavor.