Choose your Owl reference photo(s)

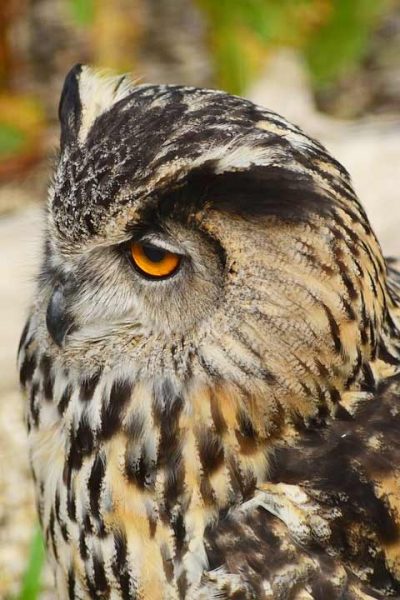
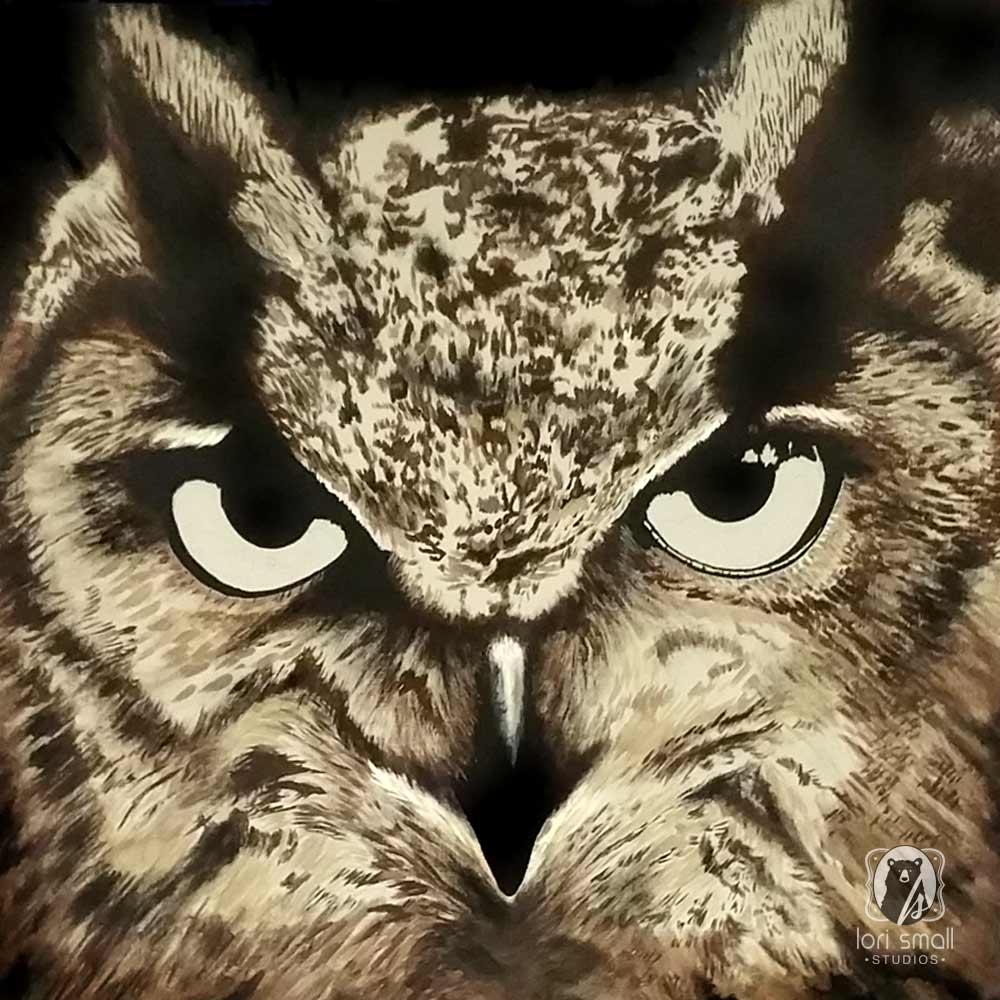
When I painted this piece I didn’t expect to be writing about it later so I’ve cobbled together the photos I took at the time to show you how it was done. I wanted to paint something dramatic and I couldn’t think of anything more compelling than the face of an owl. Do a Google search for ‘owl eyes’ or just ‘owl’ and you’ll have all the reference you could ever need. Unsplash is also a great royalty free source for images of all sorts.  After looking at countless owl images, I choose to paint an Eurasian Eagle Owl . They have such intense orange eyes…


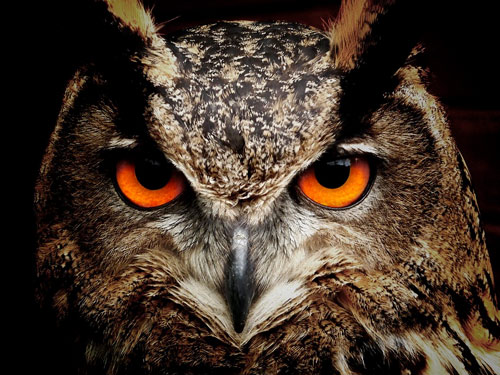
      I found this image from pixabay…another wonderful resource….perfect.

I wanted to recreate this on a 36 X 36 inch canvas so I was going to need to rough sketch the image prior to getting started with the paint. I’d love to be, and maybe one day will be, one of those artists who just sits down and uses exactly the right brush and exactly the right color on the fly and voilà…a perfect owl!

Many artists, maybe even most, rough sketch their painting on the canvas prior to adding details. It just makes sense. What I needed was a way to transfer the rough outline to the canvas without having to draw it completely freehand.   Enter Rasterbator.net!

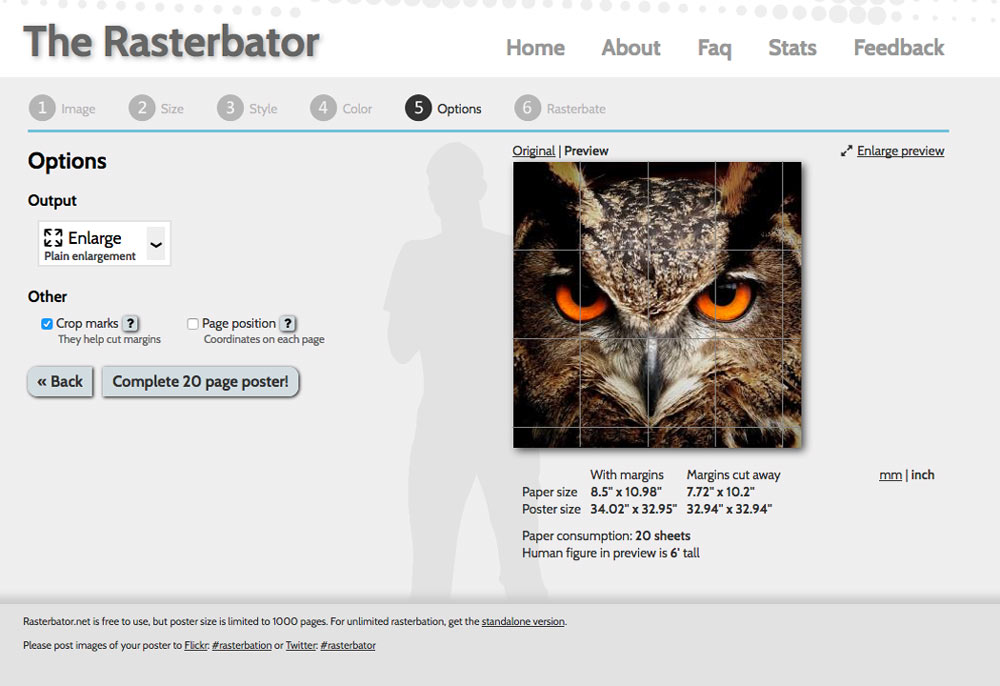
I know, it sounds slightly kinky, but really it’s not! It’s actually a very no-nonsense website and all-in-one tool that allows you to enlarge any image to any scale (up to 1000 pages or 65′ wide).   In 5 simple steps I had my enlarged image:

Steps to Enlarge your Image on Rasterbator

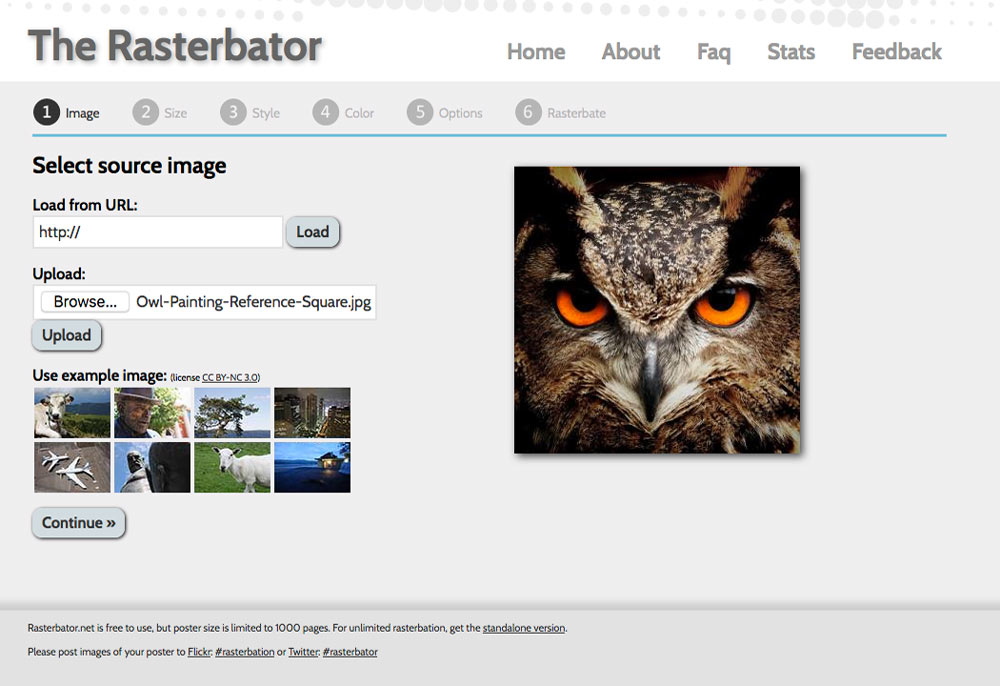
Step 1: I first cropped my image to a square since my canvas was square, then uploaded the file to The Rasterbator website. A preview of your image will show on the screen.


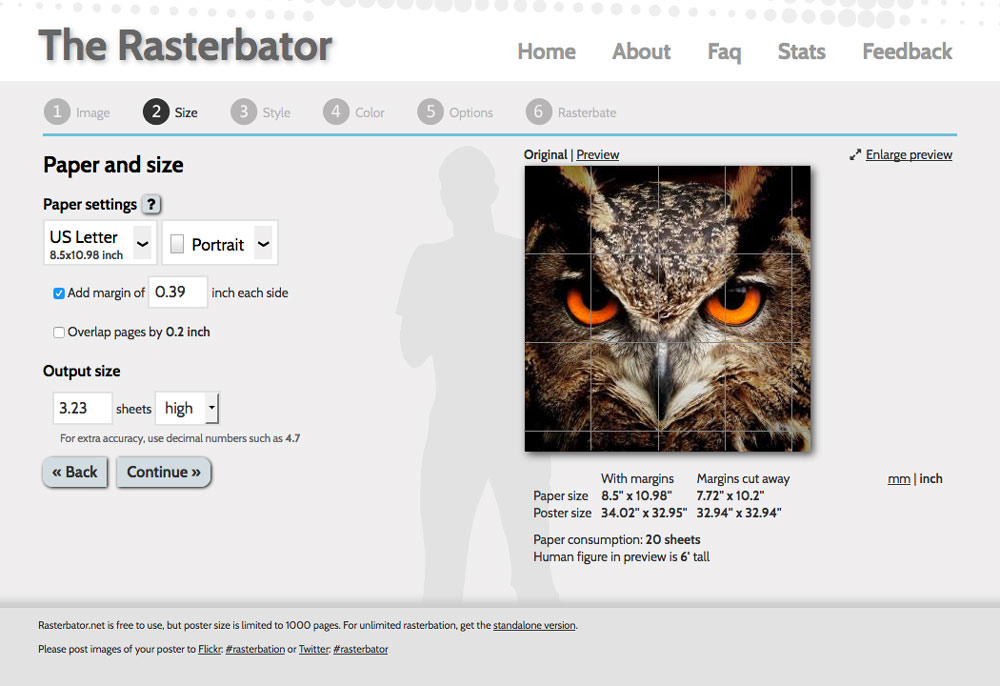
Step 2:  Here you can play with the ‘output size’ till it is close to the size of your canvas. I chose to print on US letter sized paper, my image will be just over 4 sheets of paper wide, just over 3 high, and is within a few inches of my canvas size, roughly 34″ x 33″. You can also decide if you want your printed pages to have a margin so that taping the image together is a bit more manageable. I actually found that no margin requires less trimming of the paper.


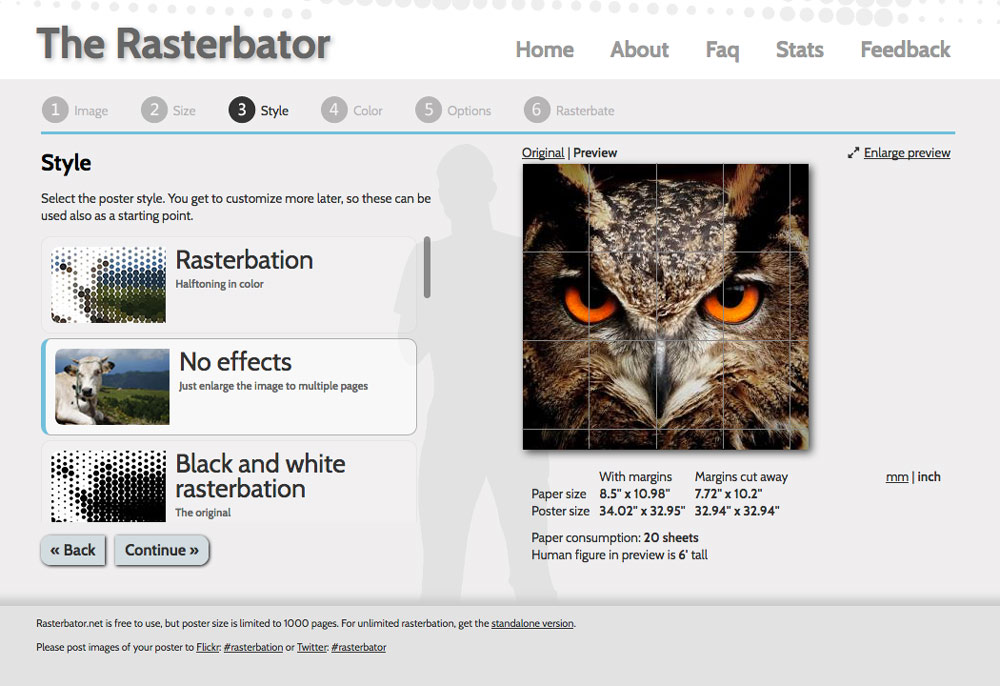
Step 3: On the 2nd screen I chose ‘no effects’ since I simply wanted to enlarge the image. There are some fun effects to play with here if you are working on a project of a different sort.


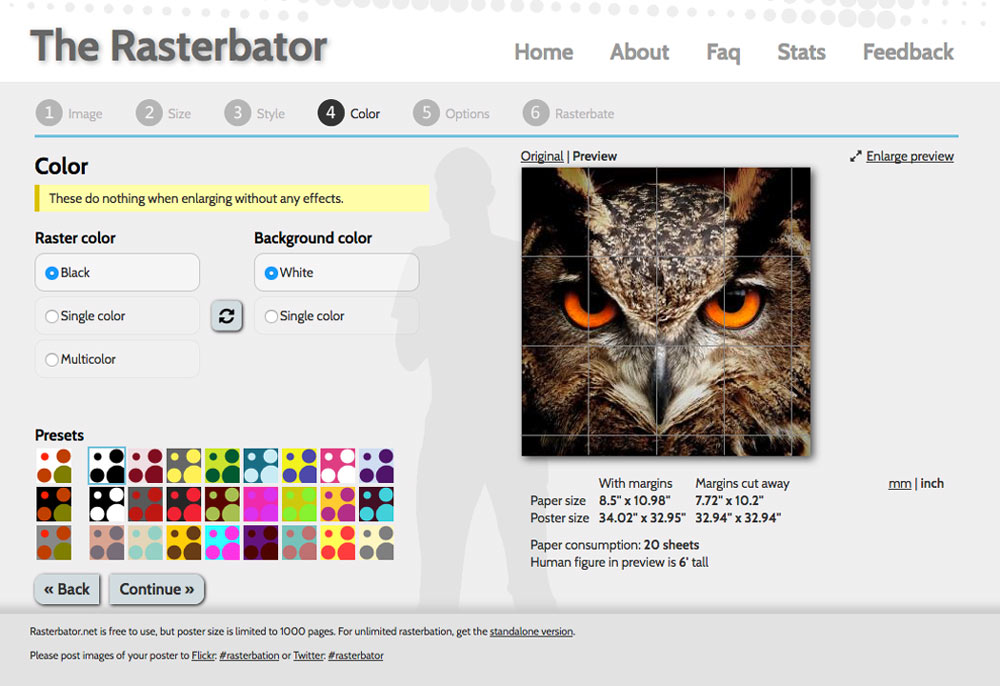
Step 4: Here, just click ‘continue’ since these options apply to effects and I chose ‘no effects’ on the last screen. Again, these are fun to play with and see the cool effects that can be achieved.

                                                                                                                                                                                                                                         Step 5: Decide if you’d like to have crop marks. I find them very helpful. You can even choose to have each page corner marked so that you know which page it goes next to.

Simply click on the ‘Complete’ button. Your PDF file will be downloaded to you automatically! Consider throwing in a few bucks as a donation too. This is really a great resource and it’s nice to say thanks with a donation that will help keep the site running.                                                                                                                                                                                                                                                                                                                                                                                                                                                                                      

                                                                                                                                                                                                                                                                                                                                                                                                                                                                                 You can print the file yourself or take it to the local print shop…your choice.

Tracing Landmarks

Once printed, you need to tape your image together, front or back doesn’t really matter for this project.

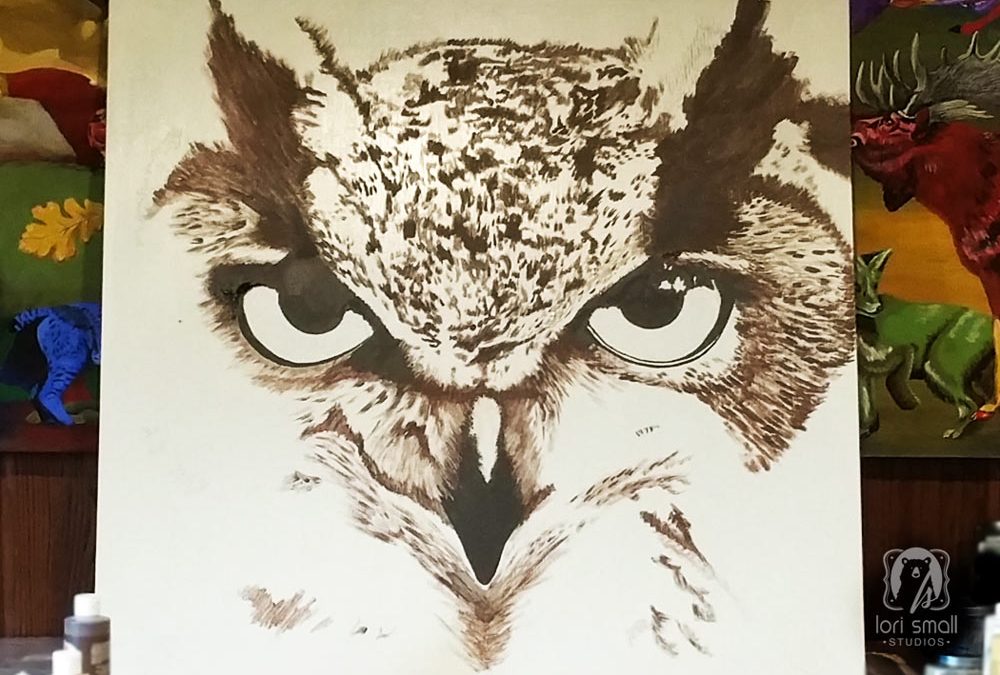
I used a sheet of tracing paper behind the pieced together image and traced a few areas on the canvas. I didn’t need more than a few landmarks that would tell me where I was. You can see them in this image. They look like pencil sketches.  Add as much or as little as you would like. For me, it just helps keep things in proportion as I paint.                                                                                                                                                                                                                                                                                                                                                                                                                                                                                                                                        
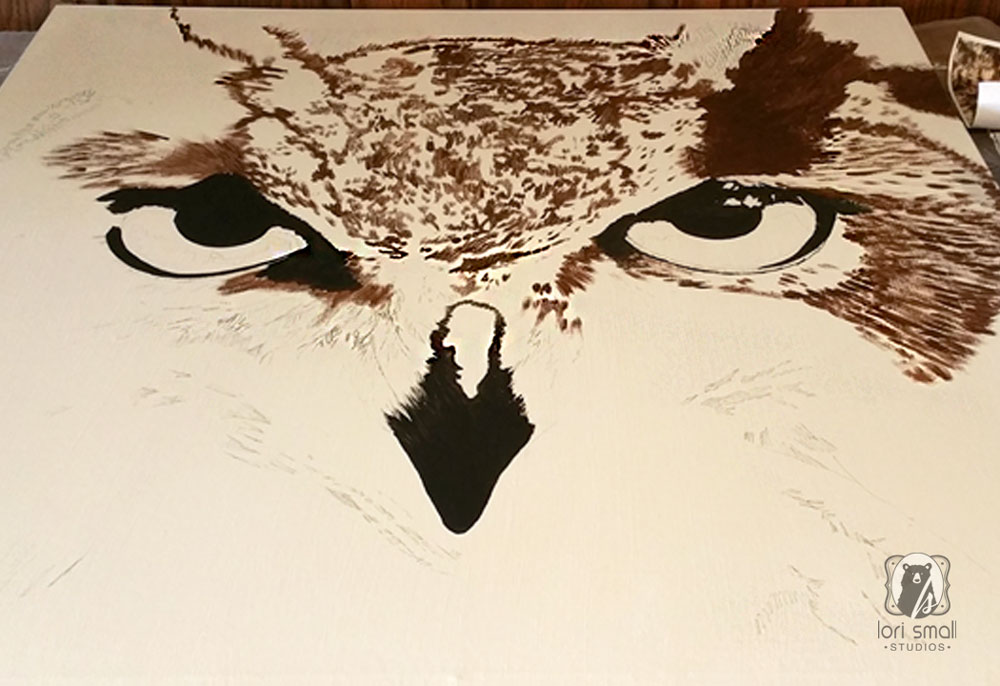
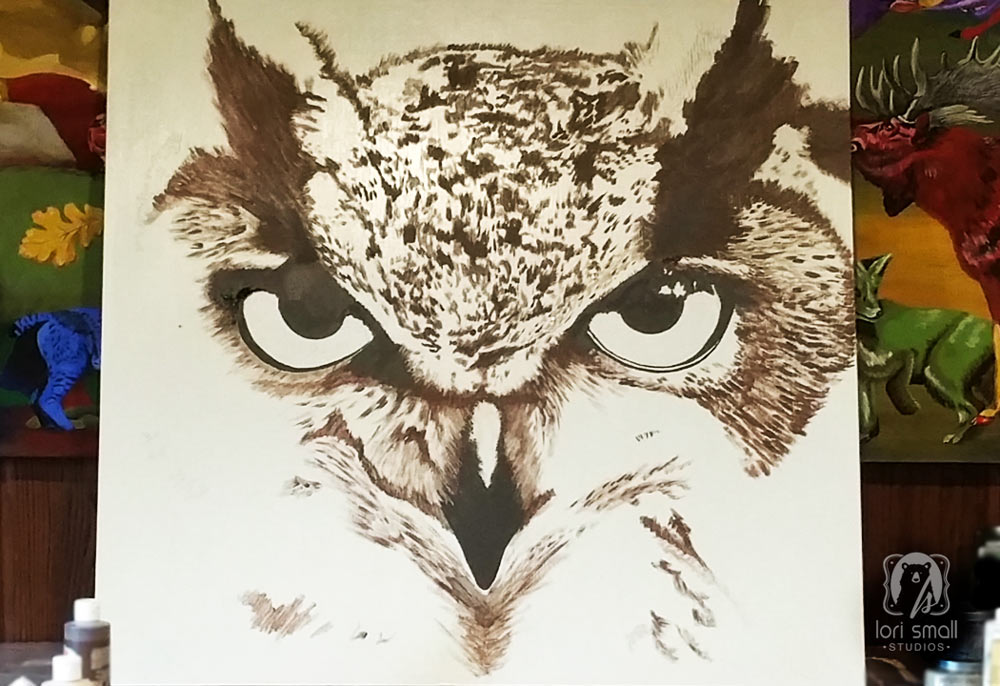
Layering Paint

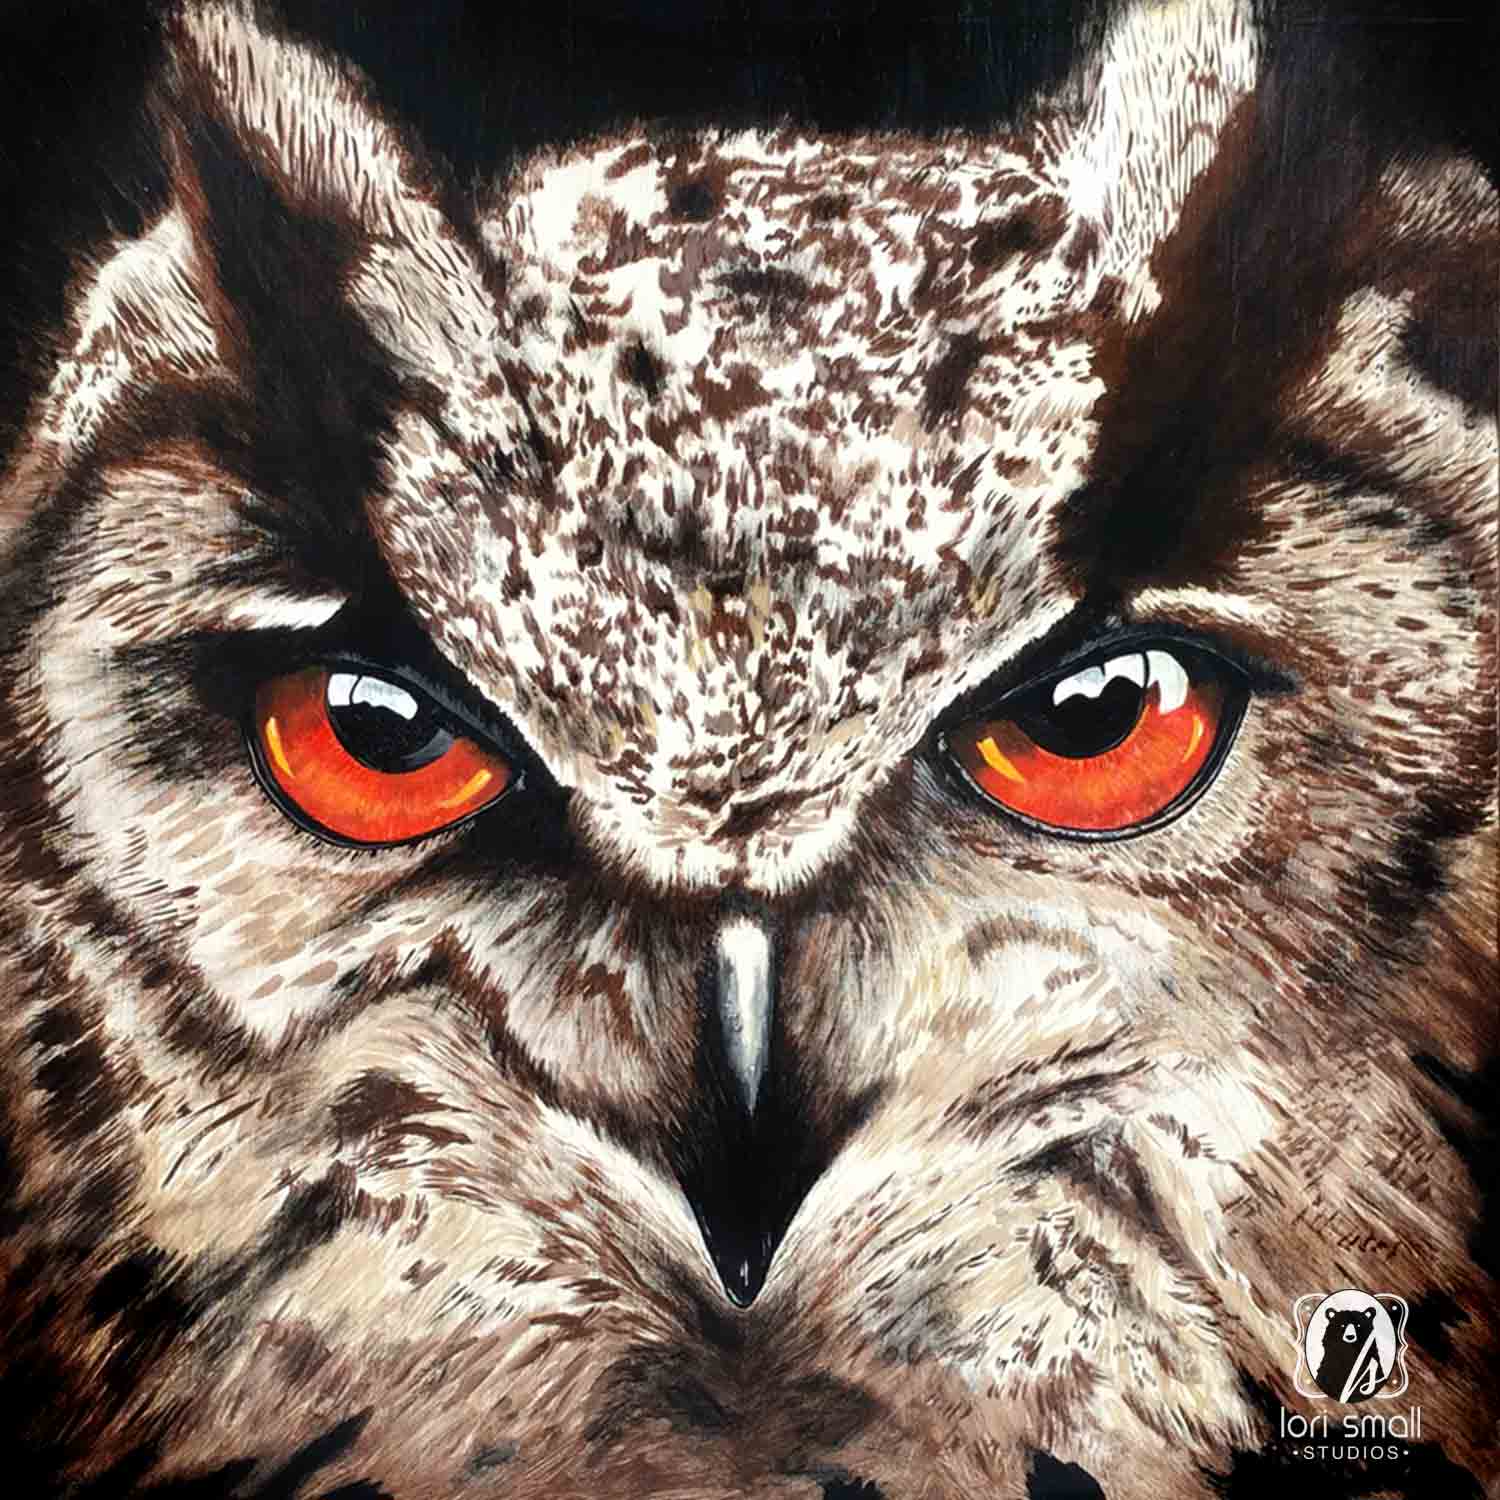
Then I begin to layer colors, a few at a time. Mostly brown and black…                                                                                                                                                                                                                                                                                                                                                                                                                                                                                                                                                                                                                                                                                                                                                                                                                                                                                                                                                                                                                                                              

                                                                                                                                                                                                                                            And little by little it begins to take shape…                                                                                                                                                                                                                                                                                                                                                                                                                                                                                                                                                                                                                                                                                                                                                                                                                                                                                                                                                                                                                                                              
                                                                                                                                                                                                                                                                                                                                                                                                                                                                                                                                                                                                                                                                                                                                                                                                                                                                                                                                                                                                                                                             
                                                                                                                                                                                                                                                                                                                                                                                                                                                                                Reflections in the eyes really make all the difference. YouTube is a great resource for tips on how to draw and paint eyes too.

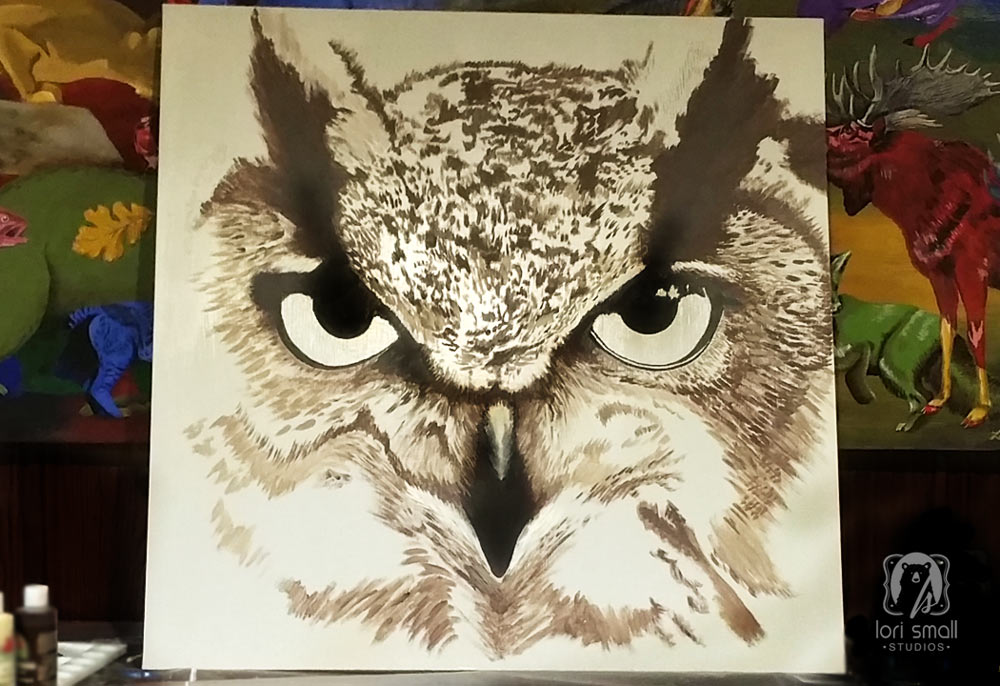
All finished….and available in the shop.                                                                                                                                                                                                                      

                                                                                                                                                                                                                                          Let me know what you think! Have you approached a painting in a similar way? What’s your method?

Subscribe To Our Newsletter

Subscribe To Our Newsletter

Be the first to see what's happening behind the scenes in the studio!

You have Successfully Subscribed!

Pin It on Pinterest